Someone recently asked me how I store all the teaching resources I've been creating on TeachersPayTeachers. What a great question! I'm sure there are a lot of "right" answers, but here's what I've been doing:
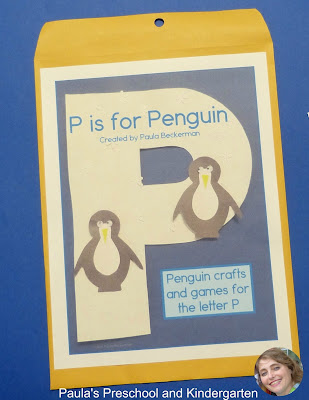
I print out the resource, and glue the cover page onto a standard 9" x 12" envelope. I glue the instruction page to the back of the envelope so it's super easy to find.
You can put the whole envelope through the laminator if you want to, but I have some that were made 17 years ago and not laminated, and they have survived, albeit imperfectly. :-)
I like to use small zippered baggies to store small pieces, as rubber bands become brittle over time and sometimes end up breaking. All the worksheets, pages, and even laminated games can slip right into the envelope! Extra copies that didn't get used? Put them in and they'll be ready for next year! Examples? In they go! Small craft supplies you need for the project? You guessed it, they slide right on in.
I like using envelopes like this because they take up so little space. You can slip them onto a bookshelf alongside the books you teach at the same time, tuck them into the pockets of your binders, pop them in your filing cabinet - however you organize and store your materials!
Do you have a storage suggestion or solution you'd like to share? I'd love to hear what you do - please leave me a comment!


I love that you put a picture on the front of the envelope! It's so much cheerier than just writing the name of the activity, and it probably makes it easier for students to help you grab one from the shelf :-)
ReplyDeleteThank you Stephanie, yes, it is cheerier - and easier for everyone to find "The one with the ____ on it" than going through and reading titles. Thank you for stopping by!
ReplyDelete