Welcome to Paula's Primary Classroom! This blog is where I share ideas for teaching and learning with families, friends and other early childhood educators. Please don't use the photos or text of this blog without permission, but please do use any ideas you find useful. Thank you for stopping by!
Showing posts with label My TpT store. Show all posts

Wednesday, September 27, 2023

Don't Miss Out - Treasure the Time Talk Like a Pirate!

What's a pirate's favorite letter? RRRRR!

What has 8 arms, 8 legs, and 8 eyes?  8 pirates!

Yes, it's time for all things pirate, International Talk Like a Pirate Day is September 19th and anyone who doesn't want to join in the fun can walk the plank! So dust off your tricorn hat, slip on an eye patch, and ramp up that fake accent - let's have some fun!

Teach your children what some of those pirate phrases mean AND enjoy a brain break with my silly pirate song on YouTube.com and don't forget to watch Jack Hartman's Pirate Song too!


Have you read Pirates Love Underpants? If you haven't, prepare yourself for giggles and silliness - there's not much that's funnier to a group of 5 or 6 year olds than underwear! (This is not an affiliate link, just a helpful suggestion).


After reading the book I love to do underwear math because math should always be fun! We practice counting, sorting, patterns and adding with underpants and even feed underpants to a dinosaur read color words.

Another awesome thing about pirates is their mustaches and beards - pirates are scruffy, just like it says in Tough Boris by Mem Fox! Why not add a little face paint and turn your students into pirates? Don't miss out on the fun, you definitely need a mustache too!

Want lots more ideas about pirates, including some of my favorite books? I've blogged about it here, here, here and here!

If your students are ready to add and subtract within 20, I have a FREE pirate themed activity for you! Students solve addition and subtraction facts, then color by number to reveal this burly fellow!

If you want more pictures like him, and want to differentiate for adding, subtracting, and a mix of both, each within 5, 10 or 20, then you'll love these guys!

I hope you treasure these pirate activities! Just in case you haven't had enough pirate puns yet, click here for more pirate jokes from Fatherly.com!

Happy September!

Paula


Thursday, April 13, 2023

One of the Best Math Teaching Tools I Rely On

What can you use to teach children not only numbers but also how to add, subtract, count mixed coins, understand numbers in base 10 and more? It's one of my favorite math teaching tools: a simple 100 chart!


I've used 100 chart mystery pictures to help my students learn numbers to 100 for a LONG time... since the mid 90's, but this year I've come to see more and more possibilities. Download a blank 100 chart AND a mystery picture in this FREE resource, then keep reading to learn new ways to use them!

Counting

What do you do when your students can count to 20, but can't consistently count beyond that? You count to 100 while looking at each number you say, to support their developing number sense! You can count to 100 with Jack Hartman, in more than one way, or with Finny the Shark in Super Simple Songs. Do your students prefer a hip hop beat? Try Harry Kindergarten I Can Count to 100! Give your students a blank 100 chart (like the one in the free resource listed above) and have them stand up, move their bodies, and point to the numbers along with one of these songs. This is a great time to walk around and evaluate how well each student is doing, and to help them get back on track if they're struggling.

The next logical step is to take away the music video and have students point and count to 100 without the visual and audio support. Can they do it? They know how to count to 100! Not quite? Keep practicing, they'll get there!

Recognizing and identifying the numbers

 Even if students can count to 100 while pointing to each number, do they REALLY know the numbers, or just rote order? We can find out by mixing it up! This is when I start using 100 chart mystery pictures, like the one featured in the free resource above, with my students. I do this in 2 very different and distinct formats: pocket hundred charts and printed hundreds charts.

Hundreds chart mystery pictures used to only be printables, a mystery to discover by coloring by number, like these images below (yes, there are a kazillion):


When I started making hundreds chart mystery pictures very few of them were differentiated. Sometimes I could find them with a choice of a numbered or completely blank 100 chart, but even that wasn't a guarantee - so I started making my own, with options for students with various skill levels. Almost all of my printable 100s charts come in 3 versions:
 
    Level A: fewer squares to identify and color, larger text, and the numbers usually in order. 
    Level B: 100 squares to identify and color on a pre-numbered chart. Number clues in random 
    order.
    Level C: 100 squares to identify and color on a completely blank chart, with number clues in 
    random order.

My students loved them, and so did other teachers, so I made 100 charts for a LOT of themes! (These aren't all of them).

Later I realized that 100 charts are also wonderful for other skills besides numbers - but I'll get to that!

My real brainstorm invention was:Pocket hundreds chart mystery pictures
Pocket 100 charts have one incredibly important feature that printed mystery pictures don't have: they can be a small group activity! I believe I was the first person to make these awesome math centers! See how they work in this short video pin!


Hundreds pocket charts are awesome for a hands on learning center, and I LOVE that students can work in small groups and help each other to solve them. Pocket chart versions are also great for those students who don't like coloring, or don't have the fine motor strength to complete a whole page of coloring. It's wonderful to listen to students try to guess what the mystery picture is as they work, and if anyone puts a card in the wrong pocket its an easy fix - unlike trying to get colored pencil off the printed page on the worksheet versions! 

The more I used my 100s pocket charts, the more I realized how many ways I could use the larger space for each number that the pocket chart provides:

Let's explore some of these ideas further:

Numbers in base 10

Like so many skills, this one takes some practice to master, so why not practice in a fun way that our students will enjoy - as a mystery picture!

Have you seen a numbers in base 10 printable 100 chart? There's so little room in each square, so the only way to make one would be to have clues on multiple extra pages. If you need 4 pages per student for a printed version, and have 22 students, that's 88 sheets of paper for ONE math assignment. What if you could let every student for years use it, and only needed about 10 pages? So much better!

To make my hundreds pocket charts I've sorted my cards by the color they need to be so I can print them out on card stock, then trim them with a paper cutter. Boom! Math center I can use for years! (This set makes a cockatoo).
 

Expanded form

I love how quickly students usually catch on to expanded form - I usually chant the problem and solution, ie: fifty plus one is fifty one - so I've only made a few charts as expanded form so far. LMK if you need one for a theme I haven't covered yet, I love to hear your requests!
Did you find yourself wondering what the picture would be when you saw this video? Your students will be intrigued too, and keep working to find out!

Counting mixed coins

Can we be real for a minute? Counting mixed coins is hard for kids! They have to identify the coins, know their value, and be able to count by 25, 10, 5 and 1 from any number, and switch between those counting forms. If you've taught this skill you know how hard it can be for many students! This year I'm using my hundreds chart to support counting coins.
 
How? A 100 chart makes an awesome visual support! You'll still need to teach the value of each coin, but try also counting by each amount on the 100 chart. Your students already count by 1's, so that's a breeze. What do they notice when they count by 5's (or nickels)? Try putting nickels on the 5s and 10s as they count, to reinforce the connection. What about dimes? When they count by 10s the next number is always directly below the previous one... does it work if you count on from 25? What about from 36? Do you always just go down one space on the hundreds chart to add 10? Can you count by 10s starting at any number now? Quarters are also fairly easy - they just have to learn and remember 25, 50, 75, one dollar. Not sure what I mean? Check out this short video!

Once students can count the coins separately, start combining them! I know a lot of people start with pennies and nickels because it's easy for students to count by 1's and 5's, but I prefer to start with quarters because I want my students to always start counting from the coin with the most value. Once they can count quarters and dimes, I add in nickels, then pennies.

Wait - what about counting change? Can the 100 chart help with that? Yes! This short YouTube video shows you how! 
 
I LOVE using a 100 chart to support math learning, and I hope you've found a few new ideas about how you can use them too! Next week I'll cover EVEN MORE ways to use them - I hope you'll subscribe so you get notified when it posts. Thanks for joining me, have an awesome week!
 
 
Paula
 

Sunday, January 3, 2021

8 Outstanding Options for Over-the-top O Activities

What's so outstanding about letter Oo?  The variety of options for learning activities!  From oceans to outside time, baking oatmeal muffins to sorting ovals to lovely hand print art, there's so much to do!

Let's start with oceans and octopi... octopuses...the octopus.  You probably have some favorite ocean themed books - and of course so do I!

If you're wanting to learn octopus facts, I love Gentle Giant Octopus by Karen Wallace, and so do my students.  Just for fun?  Octopus's Garden, by Ringo Starr.  Bonus points, it includes a sing-a-long CD, so you and your littles can learn (or relearn) the song.  While you're at it, check out the gorgeous illustrations in Inky's Amazing Escape by Sy Montgomery and Over in the Ocean by Mariann Berkes.  

I haven't get read Manfish A Story of Jacques Cousteau by Jennifer Berne, but a study of the ocean is incomplete without learning about him, and again, the illustrations look awesome!

Many years ago I made an ocean tent to go over a card table - super easy to do - and my students have had a lot of use out of it!  I found a couple of panels of ocean fabric that measured the same size as my card table, and added some plain blue fabric for the other 2 sides.  I put a cord through the top hem, and tied it onto the card table.  It takes about 2 minutes to put up or take down, and folds quite small for storage. (I was inspired by tents from https://www.etsy.com/shop/missprettypretty ).  Just add ocean stuffed animals or other toys for some fantastic pretend play!

 Your littles might also enjoy working on patterns with ocean animals - here's a fun way to do that:

and early readers will enjoy this FREE reading center - click here to download it!


If you're in the mood to do some cooking with your little ones, AND you want them to eat healthy foods, try the oatmeal muffin recipe I wrote about here. Look at all the delicious ingredients: 

Remember to let your little ones help you cook - they're spending quality time with you, learning life skills, and if they help you cook something, they're more likely to try eating it.  Want more?  They're also developing fine motor skills, counting scoops, measuring ingredients and learning vocabulary - they are learning.

If you've been reading my blog for long, you know I also love to do hand print art with my kiddos, and letter O is no exception!  Here are 3 fun ideas: otter, owl and ostrich!  


The ostrich came from CreativityTakesFlight.com, the otter was uploaded to Pinterst without credit, and I'm not sure about the owl either.  As always, you can find more hand print and foot print art ideas on this Pinterest board:

Don't forget to add outside time to your letter Oo activities!  This is so open ended, you're sure to have some favorite outdoor ideas - or brainstorm with your children and try something new!


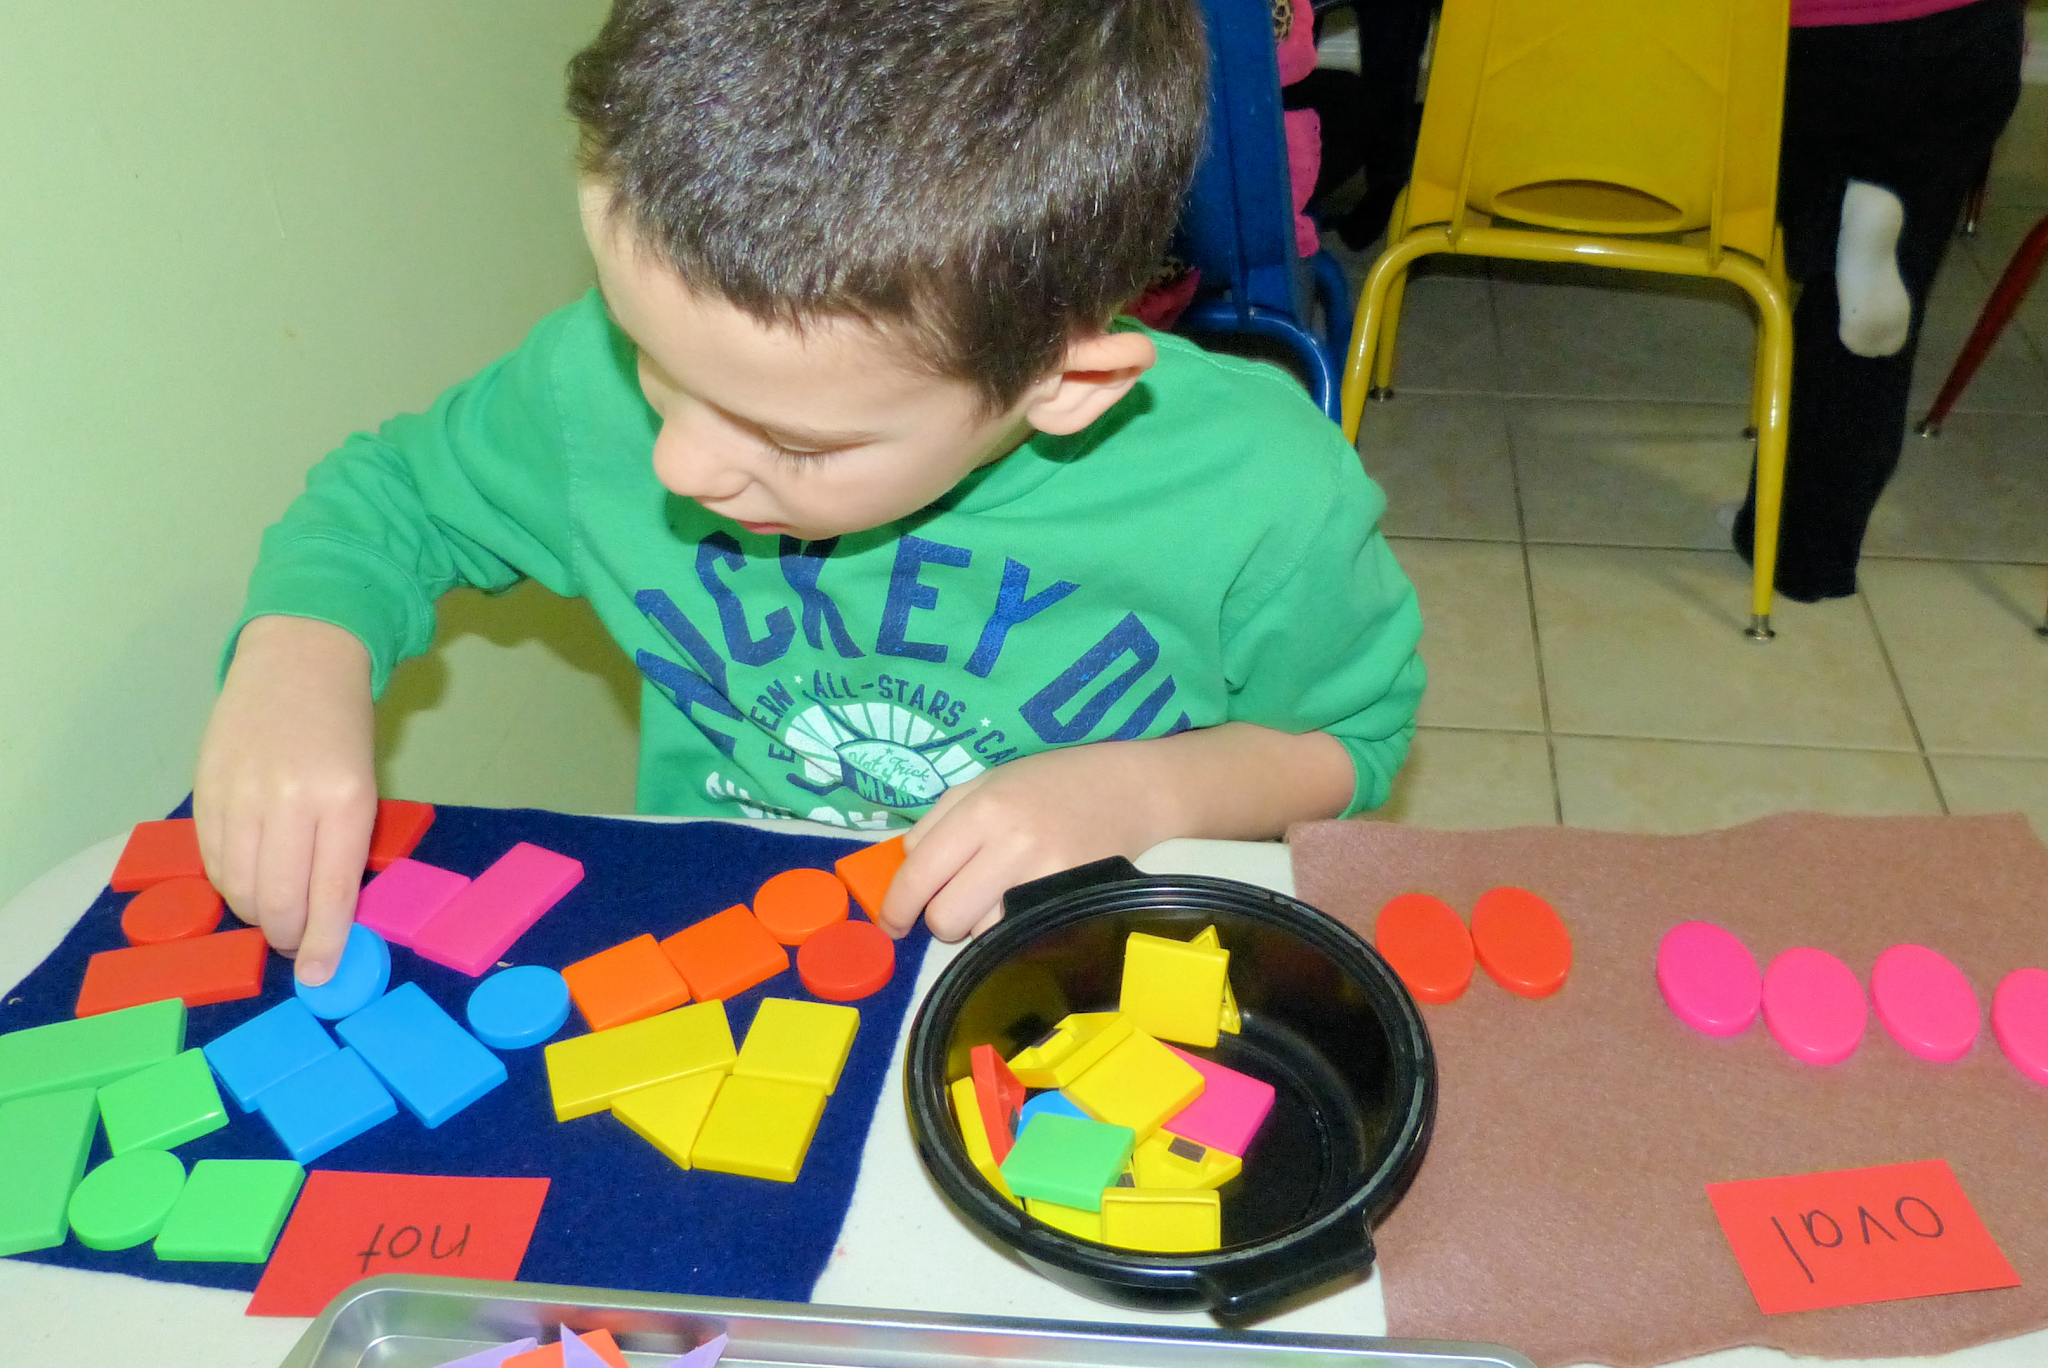
It's always a good time to revisit shapes and other math concepts; we broke out some magnetic shapes that include ovals.  As you can see they're fun for sorting, or making patterns, or simply look for ovals and other shapes in your environment. 

Finally, here are two great picture book characters for the letter O: the giant squid from I'm The Biggest Thing in the Ocean (by Kevin Sherry) and Olivia (from the series by Ian Falconer).  I came up with both of these crafts, which encourage lots of fine motor skills (cutting, gluing, even painting).  I hope you and your little ones enjoy them!
 

Click here for a quick tutorial on how to make the squid from  I'm the Biggest Thing in the Ocean, or get everything ready made for labeling, graphing, measurement AND this activity in my TeachersPayTeachers store.

Here are the shapes your child will need to cut out and assemble to create Olivia...

... we think she's pretty adorable!  

Have an over the top outstanding week of O activities, and come back next week for penguins, polar bears and positively perfect ideas for letter Pp!  See you then, Paula


Sunday, December 6, 2020

Letter S is Stunning in the Spotlight

 It's stunning, it's super, it's spectacular, it's...

...the letter Ss!  Timed just right for December and Santa, S is a smash hit every year!

It's all too obvious, but S for Santa really is a favorite.  With plenty of Christmas and Santa crafts and activities available, it's easy to find some that appeal to you and your students.  Many people schedule a visit with or to the jolly old elf, and we're no exception, but that's not your only option!

My big event to start our letter Ss week is to have the children dress up and pretend to be Santa.  I didn't go buy an expensive Santa costume - you can put one together pretty easily with just a little creativity!  For my costume I found a larger kids shirt and elastic waist pants at a resale store.  I sewed on some white fleece around the arms, bottom of the shirt and pant legs, added my own snow boots and black belt, a cheap Santa hat.... but what to do about a beard?  I found a piece of white fake fur, and just tucked it into the hat!  Ta-da!  Lots of little Santas!  Each child had a turn to put on the costume for a photo, which we put in our alphabet photo albums.  While we were taking turns putting on the costume we sang holiday songs - you could also add ringing bells in time with the music to keep little hands happily occupied while waiting for a turn.

We also make hand print Santas, which we print onto our large letter S craft.  You'll need red, white, and skin toned paint.  If you look at the Santa print in the picture above, you can see the center of the palm is Santas face, the fingers and around the edge of the hand is white for hair, and the thumb and face of the hand is his red hat.  It's easy, fun, and painting little hands is a lovely sensory experience and an opportunity to talk about the cool, slippery paint, the tickly sensation, and to introduce great vocabulary words about the experience!

You know I like to offer the children options for their hand prints - for one thing, not everyone celebrates Christmas and Santa, and another reason is that children so seldom have a say in things that having a choice helps them feel powerful - and more likely to cooperate when I can't give them choices.  

One of the other options is to paint snails - and this one isn't so easy to look at and understand, so I'll explain.  The brown part of our snails is made by painting the curved outer edge of our hands, from the tip of the pinky finger down to the fleshy part by our wrists.  We use a second color to paint the same area but with our hands fisted, and that sort of circular fist print makes the snail's shell.  When it's dry the children can use markers to add the swirl in the shell and stems for wiggle eyes.  (If you haven't taken a close look at a snail with your child, this is an excellent time to do so, so they know what they're trying to draw!)

Our other hand print option is to make a swan.  For this one we created the background first - blue for a pond, green for the plants surrounding it.  I like to offer the children tissue paper to add details - it's very inexpensive (I save it after gift giving occasions), and is fun and easy to tear.  Tearing is a great fine motor workout, so we're developing little fingers with a recycled material while encouraging artistic expression and learning our letters.... is that a win-win-win-win? Why yes it is!  Once our background is complete we make a white hand print for the swan's body and neck, then the children add a little more neck and a head.  As always, we add final details when the paint is dry.

To continue the Christmas theme learning, I created a Christmas patterning center.  With 4 AB, 4 ABC and 4 AAB / ABB patterns to continue, there's something just right for each child.  I seldom use worksheets with preschool children, but for those who do, and for slightly older children, I included 15 differentiated cut and paste activities. It's a fun way to bring some math to our seasonal learning!


If you do letter Ss in December, or at least during the winter, you may have another easily available, free, fun material on hand - SNOW!

Of course you're going to spend time outside in it, but there are also going to be inside times you want to make engaging, and painting on snow is a HUGE hit!  We simply filled pie pans with snow, then let the children use droppers to add water color paints to their tray of snow.  It's awesome to see how the color quickly leaches down through the snow, leaving a lightly colored area where the paint was.  This is a fun time to practice mixing colors - because your children are going to do it anyway!  If you offer primary colors (red, blue, yellow) someone will notice the combinations that result in secondary colors (purple, orange, green).  If not, you can act surprised to find green snow when you didn't offer green paint, and ask the child(ren) how they made it.  They'll figure it out and proudly tell you all about it!

Be prepared for this activity to last much longer than you think it will.  Also be prepared for large puddles of paint water - have old towels on hand ready for the inevitable cleanup.  The first time I offered this activity it lasted 2 hours, and older siblings who were arriving with parents at pick-up time joined in and stayed to play.  Thank goodness there's plenty more snow outside and you can easily refresh their snow over and over again!

If your little ones are super excited about snow, and want to know more, check out this snowy learning packet!

The non-fiction booklet explains how snow forms - at a level little ones can understand.  It's fun to graph their favorite snowy activities, and to measure with snowflakes.  Our favorite is probably using pattern blocks to create symmetrical snow like creations.  These are all easy ways to tie in science and math learning along with our letter study!

I haven't talked about our lowercase S at all yet!  S looks like a snake to me, so I like to read a book about a snake (my go-to is Keith Baker's Hide and Snake), then we make our own snakes.  The snake in the book we read has lovely patterns on it, so it's a natural step for the children to make patterns on their snakes too!  We do this with colorful foam shapes - and I have an important tip to make this go smoothly: have the child choose 2 or 3 shapes ahead of time, and find multiples pieces of each.  If they want small yellow triangles and big pink circles, they should find at least 5-8 of each BEFORE the glue comes out.  Put all the other shapes away out of sight.  It's so very hard to make a pattern when there are a kazillion brightly colored pretty shapes in front of you - who can choose?!  Trust me on this one, I did this craft with groups of children for about 15 years... and have learned from the children.  :-)  Once you have just the needed pieces in front of you, get out the glue, and help your little one say the pattern outloud, pausing expectantly at the end so they'll fill in the next shape: "Red, blue, red, blue, red...?"

As I said before, not everyone celebrates Christmas, and even if all of your students do, it's important to include other cultures and ways of doing things, because in our great big world there are many right ways of doing things!  December is the season for Bodhi Day, Hannukah, Kwanza, Omisoka (New Year's Eve), Boxing Day, winter soltice, Yalda and more!  Both Bodhi Day (December 8) and Hannukah (sunset December 10 - 18) will be celebrated this coming week.

To my friends who are celebrating - Happy Hannukah, and blessed Bodhi Day. 

Much love,

Paula


Sunday, November 29, 2020

Rocking with Rudolph is Really Remarkable

It's almost December, so we're going to skip ahead a few letters - because rocking December with Rudolph really is remarkable!

Have you sung the reindeer version of Head, Shoulders, Knees and Toes: Hooves, Belly, Antlers, Nose ?

It's so much fun!

 There's also our Rudolph hand print, inspired by HandprintCreations.com and funhandprintartblog.com.  I found the robin idea at creatingreallyawesomefunthings.com , the rocket at CraftyCrafted, and I think I came up with the raccoon myself... but it's been a long time, and it's so hard to remember!  There are also other reindeer hand prints on my handprint Pinterest board if you want to check them out.

The Rudolph hand and foot print ornament included below is one of my all time favorite preschool Christmas crafts!

 I did this every year when my children were little, and have a progression of Rudolphs, slightly bigger each year as the children's hands and feet grew.  Please please, when you do these crafts make sure you put your child's name and the year on the back, I promise you'll treasure them all the more for it!


 The fun What's Up Rudolph? craft was inspired by this one on Artsonia.  If you haven't visited Artsonia yet, why not?!  It's a free site, full of wonderful art ideas for children of all ages, and it allows teachers to safely upload children's art into an online gallery.  Parents can even order merchandise with their child's artwork on it!

For this project the children cut out rectangles, triangles and circles, then assembled their projects.  It was a great fine motor / scissor skill activity, and they were thrilled that the results look so lovely!

Our letter R craft also incorporates Rudolph the red nosed reindeer, because the children absolutely remember the sound to associate with the letter this way!

Finally, I wrote a short song about the names of all the reindeer! You can see it on YouTube,

or click here for the printable booklet.

That's it for this week - I hope you and your little ones have lots of fun, and I'll be back next time with S is for Santa.


Sunday, November 8, 2020

Ll Looks Like a Lovely Letter

Here we are in late fall, looking at letter Ll - it's time for a leaf pile!  Playing in leaves has kept my kiddos busy for months every year, and it never seems to get old to them - or to me! 
Leafy learning certainly starts outside - watching the changing of the seasons, seeing leaves change color and beginning to fall, playing in leaf piles - but it doesn't have to stay outside!  It's fun to take leaves into the classroom and to sort them by shape, size or color, to make leaf rubbings, to graph the colors of the leaves we've collected, and more.  (I created printables for these activities, which are available in my TeachersPayTeachers store.)

I like to start our letter explorations with lots of items that start with our focus letter, so for Ll I collected ladybugs, lizards, lobsters, lunch lady, lightening, lions, lemons and more in a Lion King gift bag, and had the children take turns to pull them out and name each item. 

We lay on the floor and measured ourselves with lovely long lines of lace - to see whether we were longer or the lace was longer.

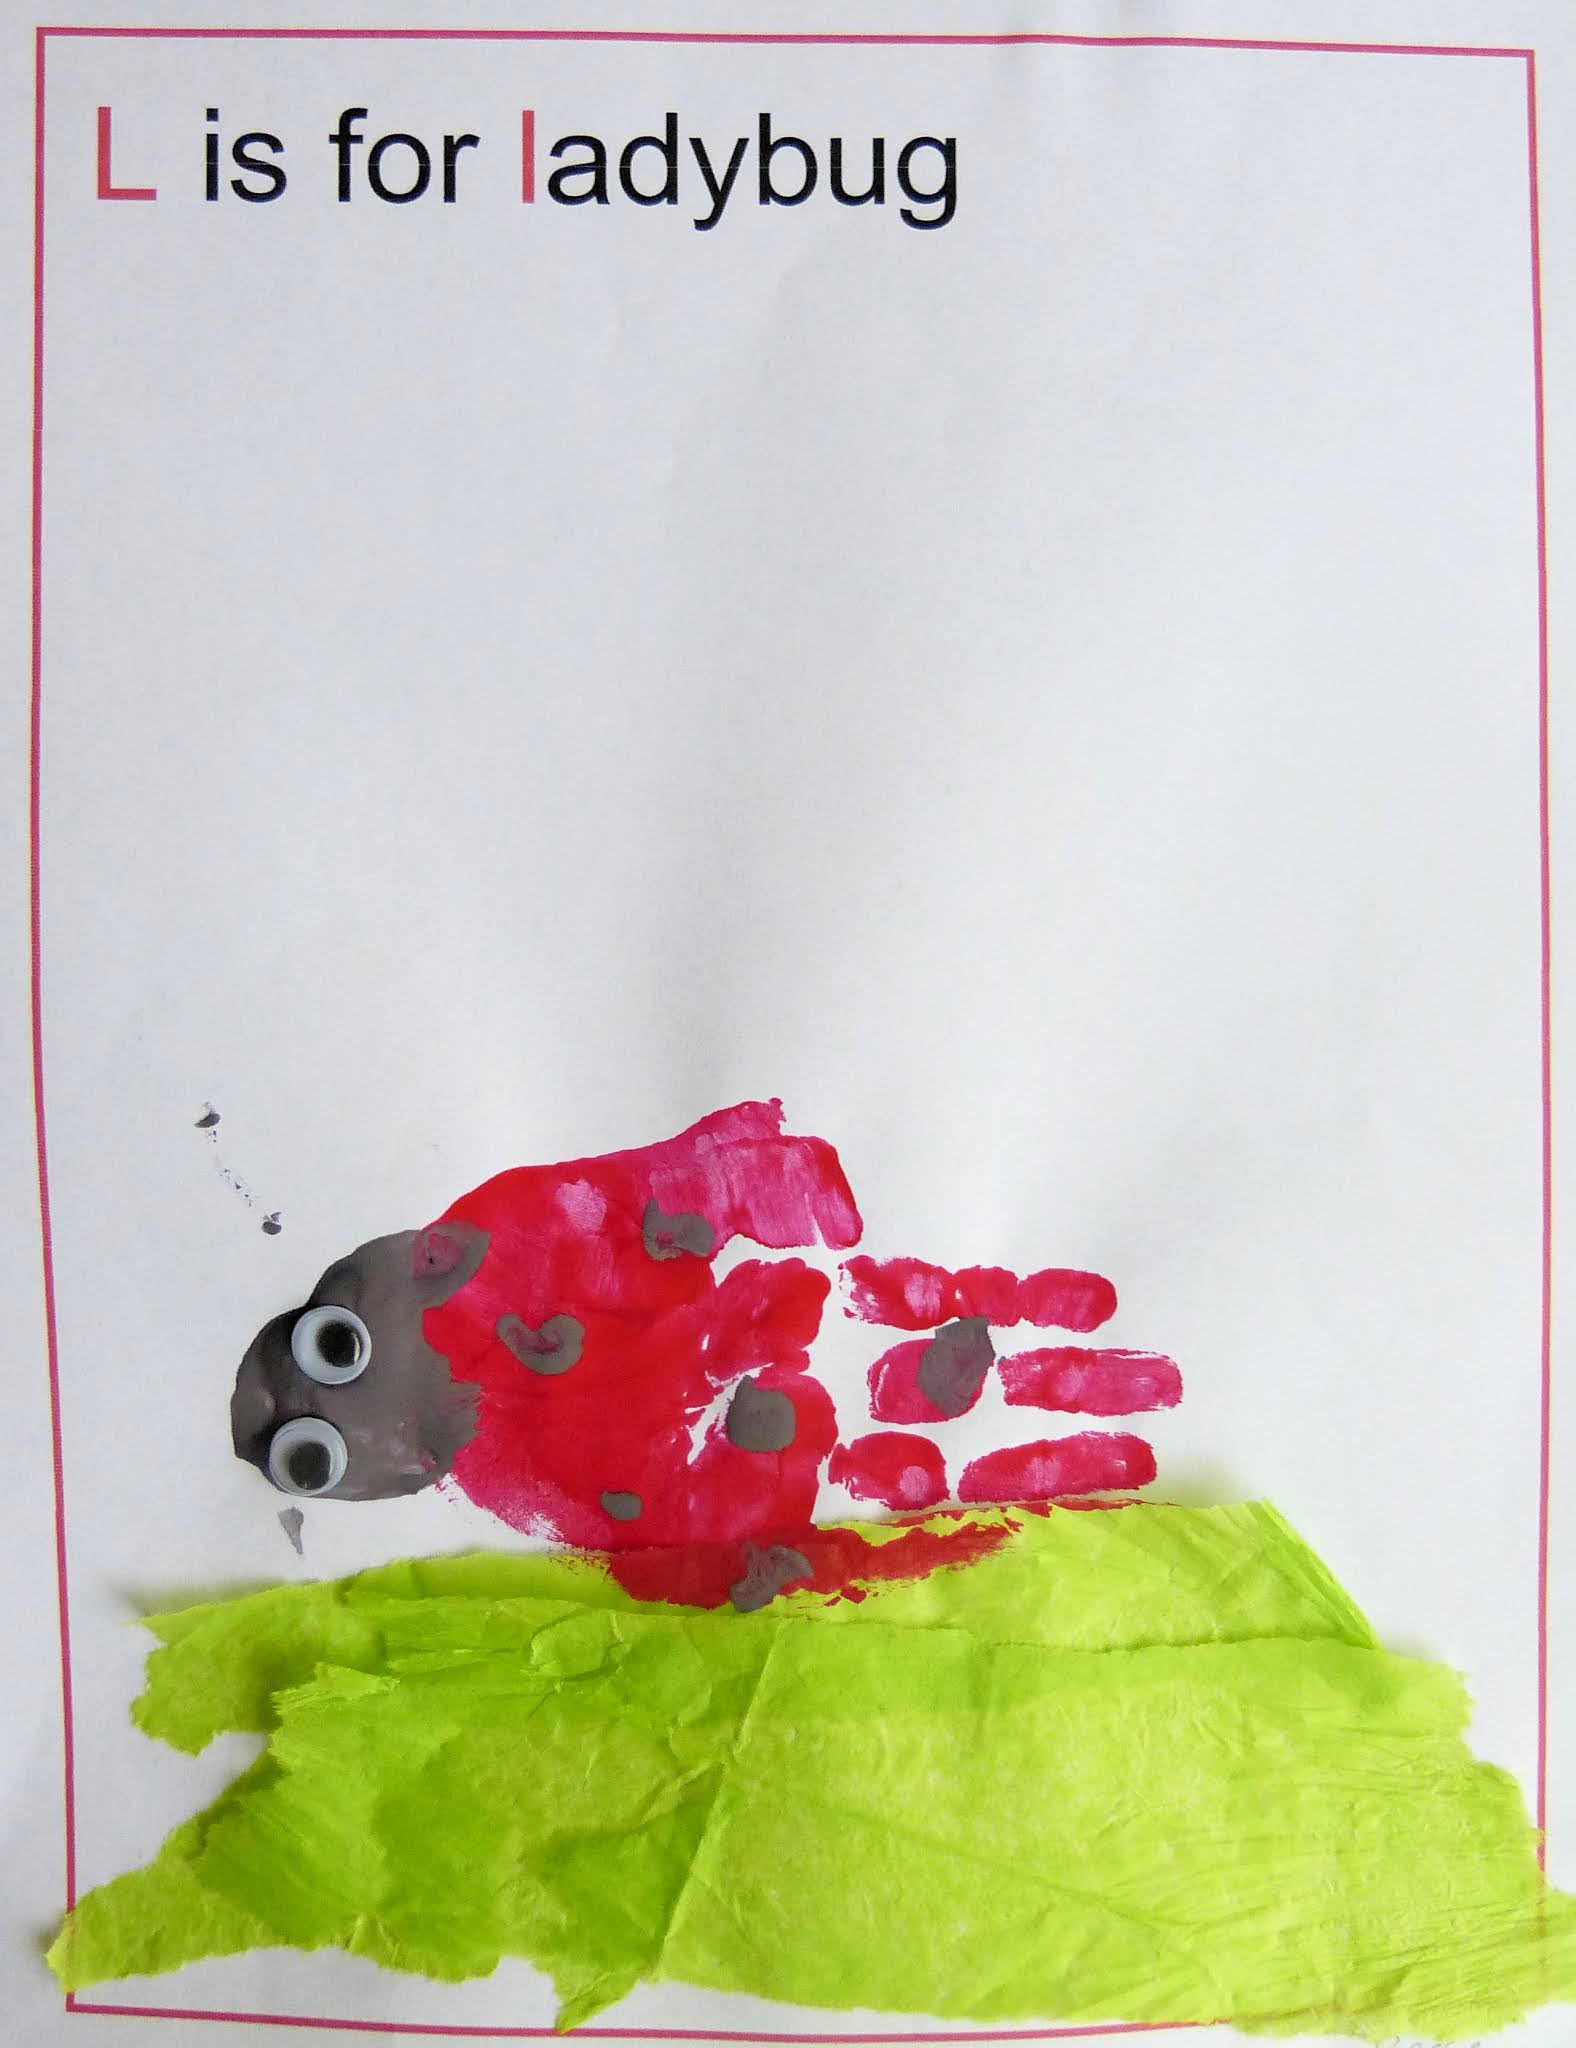
For some hand print fun, we made lions or ladybugs - we think they're lovely!


Another fun L word is lamb - so we replaced Mary with our own names and sang Mary Had a Little Lamb as we snuggled a stuffed animal lamb (or a leopard, because that's fun too)!  I typed out the words for each child's version of the song, and they highlighted all the Ll letters they could find, then made it into a class book so we could read it over and again. These pages are included in my Class Books Bundle.

Do you know the song Lavender's Blue?  This is a perfect week to learn it if you don't already know it!

By now you probably know I like to do a letter craft with the children too, and of course we made both upper and lower case letter Ll.  We put ladybugs and leaves on logs for the upper case letter, and glued on lace for the lowercase letter.

You could also do a directed drawing of a lion.  It's amazing what little children can manage when you break something down into tiny steps for them!  We made our drawings in pencil, then went over the lines with black or dark brown crayon, then finally painted with shades of orange and brown.


I hope you have fun learning with the letter L this week!  Which activity does your child like the most?  I'd love to hear from you!