I love teaching and learning with young children, this is where I share my ideas.
Welcome to Paula's Primary Classroom! This blog is where I share ideas for teaching and learning with families, friends and other early childhood educators. Please don't use the photos or text of this blog without permission, but please do use any ideas you find useful. Thank you for stopping by!
What does it take to make an outstanding recipe - whether the traditional kind for food, or a recipe for something much less tangible, like success?
I would argue that all recipes need ingredients, and better ingredients will usually yield better results. Of course, there has to be a method for putting those ingredients together, and surely almost every recipe needs to be carefully seasoned.
My ingredients for preschool - beside the obvious preschoolers and adult carer - would have to start with books and music! So it was this last week, when we focused on learning the letter J.
One of the wonderful things about children is their energy, and rather than fight it, I figured we'd expend some of it by dancing and singing. We exercised to 100 with Jack Hartman's Count to 100, and did the Tooty Ta with Dr. Jean - because no kid can resist sticking out their tongue and bottom while they dance (who can)?! We sang Hello My Name Is Joe, adding actions until we could barely stand, and worked on vocal modulation sang loudly and quietly with John Jacob Jingleheimer Schmidt while jingling our bells. Were the kids worn out? NO! Were the teachers? Yes, yes we were, but it was only 9:30 am so we kept going.
Do you see the huge pile of jewelry in the box shown above? We put it ALL on and JUMPED JOYFULLY in jewelry. By the time we were done the kiddos were ready to sit down for a few books (and my exercise ring was closed for the day)!
Jump Frog, Jump is a great book for an energetic group - the pages alternate between story line and exclaiming "Jump Frog, Jump!" We held our bodies still on the story pages, just waiting to explode our arms up into the air as we shouted at the frog to JUMP! (Little ones can't still for very long, but by alternating still and moving we're working on self control.)
After our stories were done we worked our fine motor muscles gluing jewels onto a letter j. I had fine plans for making a jack-o-lantern uppercase J another day, but... some days you follow the recipe, and other days you improvise. It's all good!
This week we'll be focusing on letter K. My music playlist includes Katalina Matalina, Old King Cole, Kookaburra, and Polly Put the Kettle On. We'll be reading about kangaroos and koalas, making a letter K craft with a kangaroo and song, and crafting adorable koala headbands.
K is also for kittens, kisses and Kente Cloth, and we'll read about them all. We'll reach into my letter K box to find a king, keys, koala, KitKat and chocolate kisses. I have a karate outfit that the kiddos will take turns wearing, and we'll look for chocolate kisses hidden in the toy kitchen. In case that isn't enough, I'm super excited to have downloaded all the alphabet songs from HeidiSongs, so we'll be singing and dancing lots of letters!
If we go back to the recipe metaphor, I'll finish by adding a helping dollop of outside time and free play, and seasoning liberally with joy and love. I'm pretty sure our recipe is going to be amazing!
What's so outstanding about letter Oo? The variety of options for learning activities! From oceans to outside time, baking oatmeal muffins to sorting ovals to lovely hand print art, there's so much to do!
Let's start with oceans and octopi... octopuses...the octopus. You probably have some favorite ocean themed books - and of course so do I!
If you're wanting to learn octopus facts, I love Gentle Giant Octopus by Karen Wallace, and so do my students. Just for fun? Octopus's Garden, by Ringo Starr. Bonus points, it includes a sing-a-long CD, so you and your littles can learn (or relearn) the song. While you're at it, check out the gorgeous illustrations in Inky's Amazing Escape by Sy Montgomery and Over in the Ocean by Mariann Berkes.
I haven't get read Manfish A Story of Jacques Cousteau by Jennifer Berne, but a study of the ocean is incomplete without learning about him, and again, the illustrations look awesome!
Many years ago I made an ocean tent to go over a card table - super easy to do - and my students have had a lot of use out of it! I found a couple of panels of ocean fabric that measured the same size as my card table, and added some plain blue fabric for the other 2 sides. I put a cord through the top hem, and tied it onto the card table. It takes about 2 minutes to put up or take down, and folds quite small for storage. (I was inspired by tents from https://www.etsy.com/shop/missprettypretty ). Just add ocean stuffed animals or other toys for some fantastic pretend play!
Your littles might also enjoy working on patterns with ocean animals - here's a fun way to do that:
If you're in the mood to do some cooking with your little ones, AND you want them to eat healthy foods, try the oatmeal muffin recipe I wrote about here. Look at all the delicious ingredients:
Remember to let your little ones help you cook - they're spending quality time with you, learning life skills, and if they help you cook something, they're more likely to try eating it. Want more? They're also developing fine motor skills, counting scoops, measuring ingredients and learning vocabulary - they are learning.
If you've been reading my blog for long, you know I also love to do hand print art with my kiddos, and letter O is no exception! Here are 3 fun ideas: otter, owl and ostrich!
The ostrich came from CreativityTakesFlight.com, the otter was uploaded to Pinterst without credit, and I'm not sure about the owl either. As always, you can find more hand print and foot print art ideas on this Pinterest board:
Don't forget to add outside time to your letter Oo activities! This is so open ended, you're sure to have some favorite outdoor ideas - or brainstorm with your children and try something new!
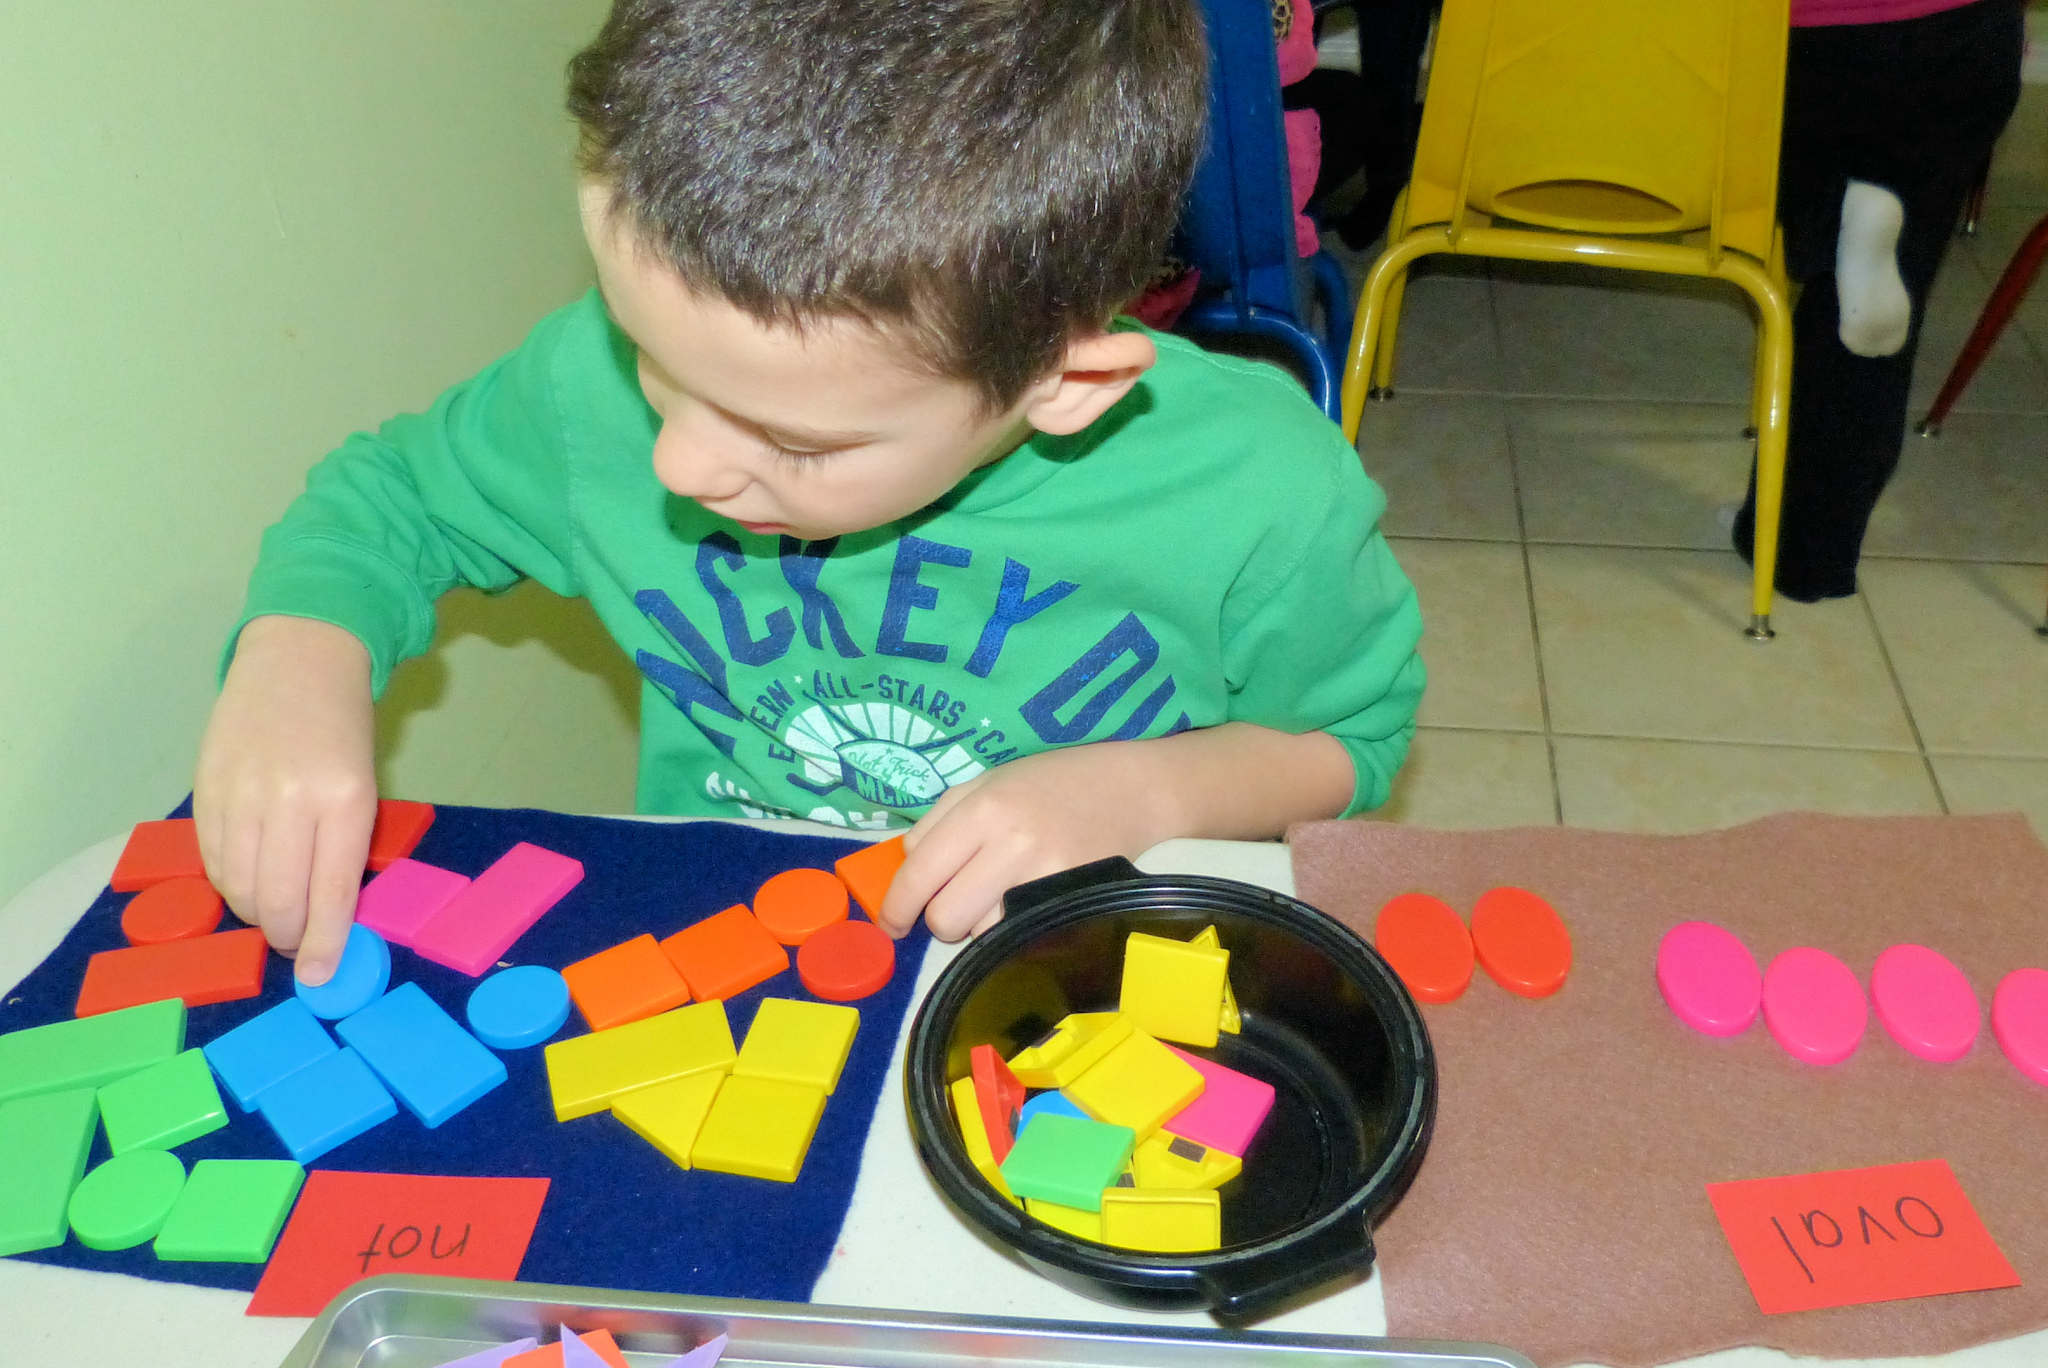
It's always a good time to revisit shapes and other math concepts; we broke out some magnetic shapes that include ovals. As you can see they're fun for sorting, or making patterns, or simply look for ovals and other shapes in your environment.
Finally, here are two great picture book characters for the letter O: the giant squid from I'm The Biggest Thing in the Ocean (by Kevin Sherry) and Olivia (from the series by Ian Falconer). I came up with both of these crafts, which encourage lots of fine motor skills (cutting, gluing, even painting). I hope you and your little ones enjoy them!
Click here for a quick tutorial on how to make the squid from I'm the Biggest Thing in the Ocean, or get everything ready made for labeling, graphing, measurement AND this activity in my TeachersPayTeachers store.
Here are the shapes your child will need to cut out and assemble to create Olivia...
... we think she's pretty adorable!
Have an over the top outstanding week of O activities, and come back next week for penguins, polar bears and positively perfect ideas for letter Pp! See you then, Paula
Welcome to part 2 of letter Bb preschool activities you can do at home or at school! In the last installment I talked about baking bread, going on a bear hunt, enjoying a teddy bears' picnic, and lots of fun backyard activities you and your child will love. Let's explore even more ideas today!
Activity 1: Songs
You had to know there would be songs! You probably already know Take Me Out to the Ball Game, and if you do, you might even have a baseball bat and ball you and your littles can enjoy. Here are two more letter Bb songs:
Activity #2: This week's hand (and foot!) print ideas are a bumble bee, bear, and butterfly. Bea-u-ti-ful!
Last week some of you shared your hand print creations with me on
Instagram 💗💗💗💗💗! I
would LOVE to see how you and your littles use any or all of these
learning activities! Please tag me @paulabeckerman2399, or leave
comments on this blog - it absolutely makes my day!
Activity #3: Make binoculars
You'll need 2 paper tubes, a sheet of paper, a hole punch, and about 18' of yarn.
Start by measuring the length of your paper tubes, and cutting your sheet of paper to that width - keep all the length. You'll have a long rectangle. Tape or glue it to one of the paper tubes, carefully lining it up the ends of the tube and the paper. Wrap it around both tubes, then tape or glue it in place. (Remember, your little one can do the taping and gluing, only help with the parts they can't do well, and always let them do as much as they can!)
Use the hole punch (this part is probably too difficult for your child) to punch one hole on the outside of each tube. Thread the yarn through and tie the ends so your child can put the binoculars around their neck. It's fun to look through the binoculars to look for things that start with the letter B!
Activity #4 Butterfly paintings
You probably remember doing something like this when you were little: fold a paper in half, apply paint to one side, fold the paper shut, smush it, then open it again to find a symmetrical painting. I recommend having plenty of paper on hand, because most children LOVE the magic of this simple activity.
This is a great time to introduce the word symmetrical - being the same on both sides. It's a great word, and once they start looking they'll notice LOTS of things are symmetrical: their face, many doors, lamps, the fireplace, the tv, the couch and more! If they ask - and someone's child will ask - things that are not symmetrical are asymmetrical.
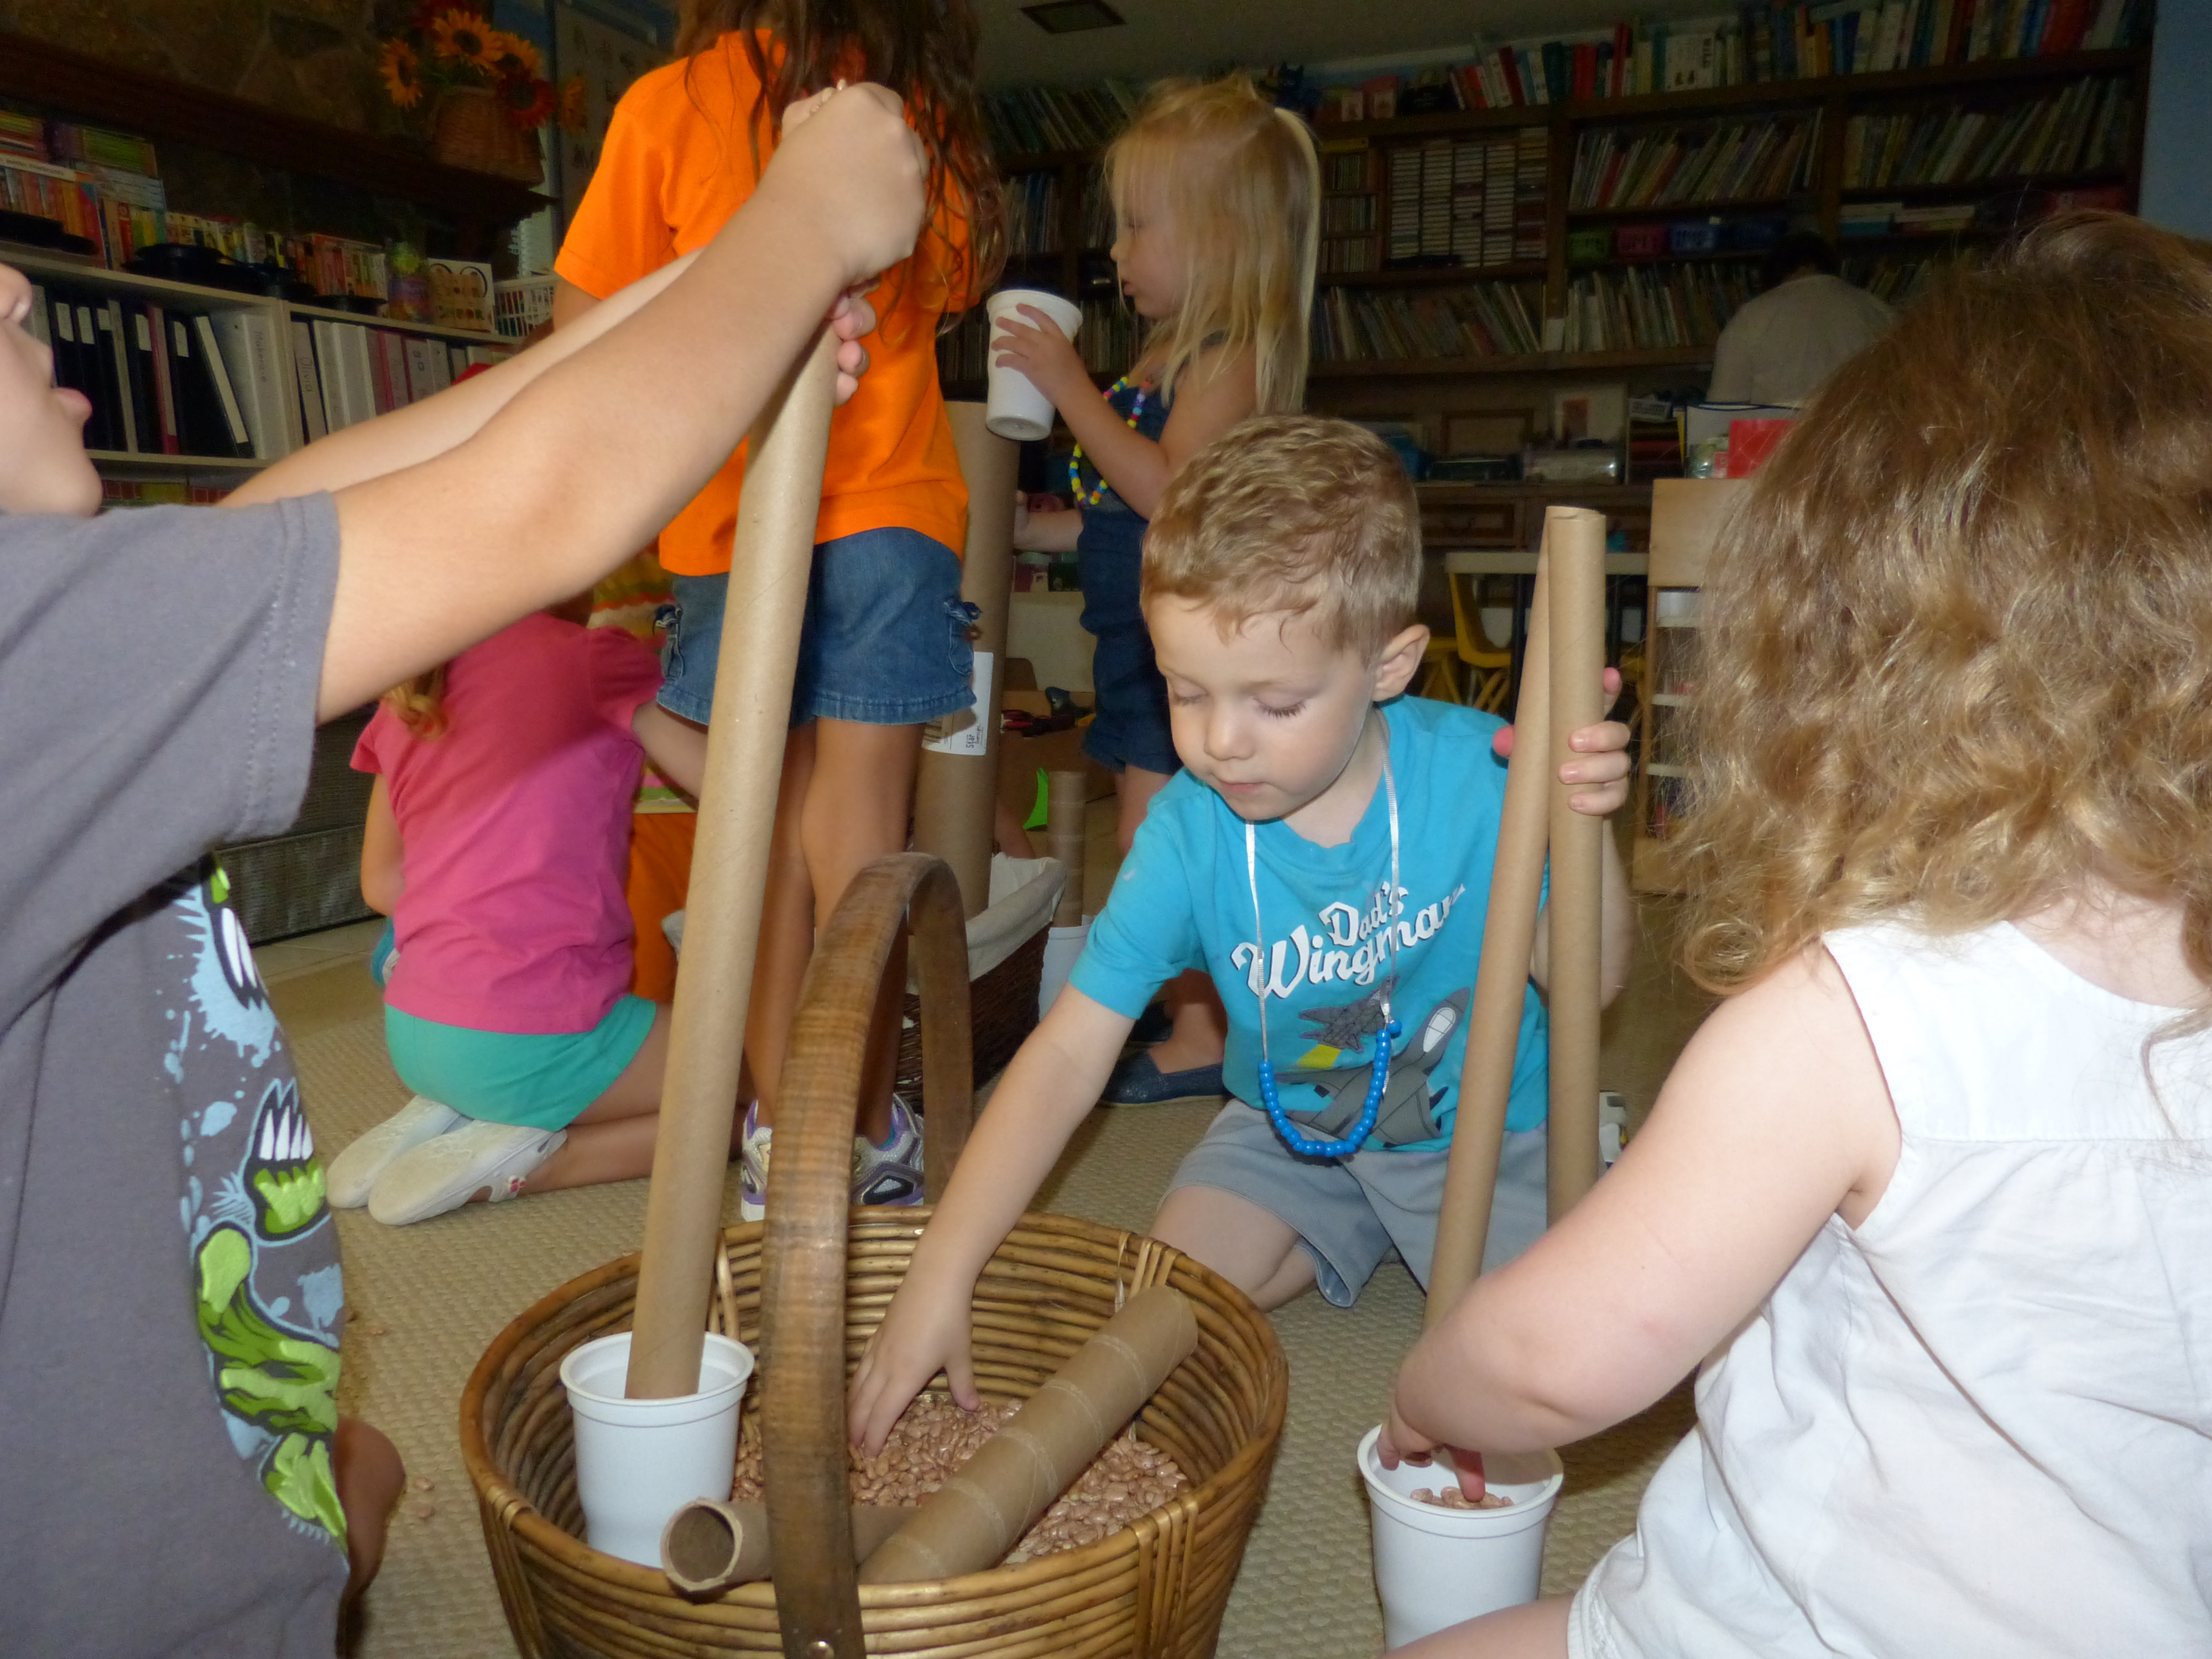
Activity #5 Sensory play with a basket of beads / buttons / dry beans.
A lot of children really enjoy sensory play. Just running your hands through a bowl of beads feels marvelous, and this is something our children don't get to enjoy often enough. Sensory play can include water play, mud and sand play, soft animals, finger painting, smelling jars and much more - all staples of early childhood learning. You can connect sensory play to letter learning by choosing materials that start with your focus letter, such as beads, buttons, or dry beans.
Sensory play can get very messy - children are scientists who explore the world with wild abandon, and don't always keep materials in a container as parents and teachers might wish. There are some easy ways to make sensory play a happier experience for both you and your child:
1. Know it will get messy to some degree, and put this kind of material out when you have the time and patience to deal with it. Stay close enough to supervise and redirect if your child starts throwing small pieces all over. Make sure they know your expectations (Do you them to keep the materials in or near the container? Do you expect them to help pick it up afterwards? Is there a time limit on how long you can keep it available?)
2. Place your sensory bin on a large towel or sheet, so when they're done most of the materials can easily be scooped back into the bin.
3. Consider taking water, sand and dry food materials outside to play, where clean up is easier. I used to buy feed corn for our outside sensory bin, and whatever we didn't clean up, the squirrels would take care of.
4. Consider the ages and stages of your child(ren) and make sure materials won't be a choking hazard.
5. If the materials don't offer a way to play, your children will invent something - so put in a couple of scoops or bowls for them to fill, add some toys to hide and dig up, or add a favorite bath toy - the kind you pour water through - so they can pour materials through it. Bored children WILL find a way to be entertained.
Activity #6: Letter Bb crafts
When I taught preschool one of our weekly activities was to cut out both the upper and lower case letter of the week, and to decorate them with things that represented the letter. I had a copy of our alphabet letters posted along the top of the wall, and many of my students put their letters up on their bedroom walls and created their own alphabet wall at home. These activities evolved over time, and your letters don't have to look like mine - there are many right ways of doing things in this world! I'll share my ideas with you, but if there is something that is more meaningful to you and your child, do that instead. I've taught a lot of children, and know a fair amount about early childhood education - but YOU know YOUR child best.
B is for butterfly. You (or your child) can draw or cut out an upper case letter B from a piece of construction or printer paper. Notice how the top and bottom half of the B are symmetrical? Remember our symmetrical butterfly painting? How could your child turn their B into a symmetrical butterfly? We glued on shapes, and I guided children to find 2 of each shape, and to place one on the top and one on the bottom of the B. A pipe cleaner bent in half, with the ends curled around my fingers make simple antennas, which we stapled on. If your child wants to add a couple of wiggly eyes, or long thin oval to represent the butterfly's body, go for it!
b is for bat and ball. When I was in kindergarten Mrs. Potts taught us "first the bat and then the ball for b" - and it stuck with me. I could tell the difference between b and d because d was "first the dog and then its tail". Thank you to Mrs. Potts, my students made their letter b crafts with a paper baseball bat and paper baseball, and I printed the words on it so they and their parents would remember.
If your child is starting to pay attention to letters, and enjoys coloring, you may like this FREE activity to practice Bb, Cc and Dd. Please follow their lead on what is enjoyable - the most important thing they're learning in preschool and kindergarten is that learning is FUN! We're setting the stage for their attitude towards school for the rest of their life - that's a big responsibility! If they don't want to color or do worksheets, please don't make them.
Most of the resources I make for preschool and early kindergarten are games. If you want more play based learning activities, I'd love for you to check out my resources on TeachersPayTeachers - and no, you don't have to be a school teacher to use the site, parents are teachers too!
Thank you for reading all the way through. I really would love to know how you're using these ideas! Let me know in the comments, or tag me on Instagram: @PaulaBeckerman2399 . See you next week for the letter Cc!
Happy New Year everyone! While Chinese New Year doesn't begin until February 5th, we teachers like to start early to gather books and materials - so I thought I'd share some of my favorites!
This Next New Year, by Janet S. Wong: (links for your convenience, I am not an amazon affiliate).
I like this book for several reasons. First, it's told from the perspective of a young boy, and is simply told. Many Chinese New Year preparations and traditions are explained by him, so young children will easily understand them. I think it's also important that the narrator talks about people from different cultures celebrating lunar new year - this holiday isn't limited to China!
Dragon Dancing is also told from the perspective of a young child. A beautifully diverse school group learns about dragons, then creates their own dragon in art class. They work together to dance their dragon all over, imagining it's actions through various settings. This book really sets the stage for imagining and mimicking dragon actions, and is likely to inspire children to cooperate to make their own dragon. This book absolutely begs for participation from readers!
This story is longer than the other two, but the fast pace will keep children listening! This one has elements of Jack and the Beanstalk and the Gingerbread Man, but is a very different story. The emphasis is on sharing and being fair, something children usually have strong feelings about. It talks about Chinese New Year foods and activities, and has a satisfying moral at the end. If you are able to follow up by serving traditional foods and showing children a real wok, they'll be fascinated!
My very favorite activity to do for Chinese New Year is tangrams, an ancient Chinese puzzle with unlimited possible answers. Tangrams look deceptively easy: the puzzle is made up of only 7 simple shapes, but even adults often struggle to make a basic square with them!
Working on spacial awareness, and manipulating 2D shapes are important mathematical concepts, so I like to offer my students both the challenge, and an option to get clues, so they can choose the right level of difficulty for themselves. Check out this short video explanation:
There are a couple of lovely story books about tangrams: Grandfather Tang's Story, and The Tangram Magician are both great for introducing the puzzles, and using literature to bring math into your classroom!
Egg Carton Dragon
You'll need half of the bottom of an egg carton, red paint and a brush, scissors, pipe cleaners, wiggle eyes and glue, and a push pin:
Paint the egg carton red:
When it is dry, use the push pin to poke holes for the pipe cleaners to stick out of the dragon's head. Glue on wiggle eyes. If desired, use a marker to add facial features! You can also use yellow, orange and red paper scraps to help your dragon breath fire, or add sequins to make it sparkle.
Next time I'll talk about fun ideas that are specific to celebrating the Year of the Pig. Please follow my blog to be notified when new posts are ready. Until then, Happy New Year!
We've all seen USA flags made by elementary age children, and while they're almost always cute, sometimes they really don't resemble the flag at all. If you're looking to make an adorable flag craft, and you'd like to teach your students about the flag at the same time, you've come to the right place!
Do you know the standard dimensions for the US flag? I certainly didn't until I looked them up! This craft doesn't use exact dimensions - I've designed this with elementary teachers and students in mind - but it is close. For each flag project, you will need:
- 1 sheet of white construction paper 9" x 12"
- 1 blue rectangle 4.75" x 5.5"
- 3 red strips 12" x .75"
- 4 red stips .75" x 7"
- glue
- white chalk
I've made this flag craft with 20+ first graders working at the same time, but you need to judge your students and how well they'll follow directions. Your students will need to know how to draw a five pointed star in order to put the stars on their flags. I like to read Eric Carle's Draw Me A Star to my class, and then use the tutorial in the book to teach them how to draw their own stars. His star has 8 points - but you can easily modify it for 5!
Directions:
- Lay your white rectangle on your work surface landscape style.
- Glue on one of the short red strips into the top right corner as shown below.
- Position the blue rectangle landscape style in the top left corner, but DO NOT GLUE IT.
- Use the blue rectangle as a guide, and glue another short red strip horizontally, even with the bottom of the blue rectangle.
- Place the last 2 short red strips between the ones you've glued down, and spread them evenly into the gap. When you have them positioned correctly, glue them down.
- Now you can glue on the blue rectangle!
- Next you'll glue on one long red strip along the bottom of your flag. Evenly space the remaining 2 red strips in the resulting gap. When you are satisfied with their spacing, glue them down. You now have 13 red and white stripes, which represent the original 13 colonies.
There are 50 stars on the flag, representing 50 states. It's hard to just draw and count that many stars, unless you break it down into simple steps. If you look carefully at a US flag, you'll see there are 5 rows with 6 stars each, alternating with 4 rows with 5 stars each. We'll draw the rows of 6 first.
- Get your piece of white chalk. In the center of your blue rectangle, draw a row of 6 tiny stars, spreading them across the available space.
- Next draw another row at the very top of the blue background, and one at the very bottom of the blue background. Add in another row in the center top portion, and the center bottom portion. You now have 5 rows of 6 stars - 30 stars so far.
- Now we need to make 4 rows with 5 stars each. These will be centered between the other stars. I like to imagine four stars as the corners of a square, and then add one more star in the center of each square - a lot like the numbers 4 and 5 on a dice. Add all those stars in, and you'll have 50 in all!
Texas public schools week is fast approaching - and if you're a Texas teacher that probably means it's time to learn some state history, and to get your classroom ready for open house. It's spring, and time seems to slip away quickly, between testing, field days, assemblies, and planning end of year activities (Yikes! Already?). You need some quick, easy, and amazing looking activities that can double as open house displays!
Here's one super simple, absolutely adorable activity that your students can probably even complete on their own during centers or for morning work!
To make this Texas flag craft, you'll need the following materials for each student:
- 1 piece of white 9" x 12" construction paper
- 1 blue 4" x 9" rectangle
- 1 red 8" x 4.5" rectangle
- 1 white five pointed star (die cut, or print these and have each student cut one out)
- glue stick
Step by step directions:
- Lay your white paper landscape style on your work surface.
- Glue on the red rectangle landscape style in the lower right hand corner of the white paper.
- Glue on the blue rectangle portrait style along the left side of your paper.
- Center the white star on the blue rectangle, and glue to the flag.
- Ta-da!
These look beautiful on a wall, or hanging from the ceiling above student desks (paper clip 2 flags back to back so there is always a front side facing out). If you make a blue bonnet craft like this one, mix the flags and blue bonnets in a display.
A couple of years ago we were lucky enough to have a penguin exhibit at our local museum (Fort Worth Museum of Science and History.) Most of the exhibition was photographs, but there was also a docent with this beautiful taxidermied penguin, so we were able to get up close and check it out. It amazed us all to see how tiny its feathers were!
After walking through the photo exhibition and seeing pictures of penguins doing all the things penguins do, we noticed a lovely, long bench. The children decided to practice tobboganing, which is just sliding on our bellies. This is one of the ways penguins move across the ice!
Back at home we tried holding "eggs" on our feet, just like daddy penguins do all winter. We were inspired by the book Without You, by Sarah Weeks, pictured here along with some other fun penguin books:
Standing still was pretty easy, but when we tried to waddle with our "eggs" on our feet, they went rolling. We decided we would not make good penguin daddies, that's a hard job!
We had fun making our own penguin rookery, complete with chicks sitting snug on the father penguins' feet. I displayed them on a large sheet of polystyrene foam, and the mottled white background looked icy. (I've recently updated this activity and added a non-fiction book, and made it available here.)
We learned about the letter P the same week we learned about penguins, so we made some pink or purple lower case letters, and added some penguins to it. The children got to choose how many little penguins they made for their letter, so we added a little math by making a graph about how many penguins we used. Super simple, and totally relevant to the children - oh yeah, and it was a good reason to practice writing their names!
Here's another fun penguin activity that ties back into penguins sliding on the ice. Freeze a tray of water a couple of days ahead of time (you want it frozen completely solid). Sit a toy penguin on it, and see if it starts sliding. If you have it laid flat, the penguin won't move unless you scoot it along. Then slowly raise one end - I used stacks of dice - until your penguin goes sliding on the ice. Experiment with the ramp you've created - what else slides? How high do you need to prop the end?
You probably already know I love to use hand print art with the children each week too, so one of our choices was a hand print penguin - with a textured "snowy" background. I mixed approximately half shaving cream and half white paint, and let the children finger paint that onto their paper (fun!), then we made the penguin separately, and glued it on once the background was dry. The shaving cream/paint dried with texture and a lovely silky feel to it. If you haven't tried this yet, you'll be amazed by the results!
For even more penguin ideas, check out this post and this post here on my blog. If you're looking for resources you can download and print to help you teach your children about penguins, you can see what I've created here.
What are your favorite penguin activities? I'd love to know!