Welcome to Paula's Primary Classroom! This blog is where I share ideas for teaching and learning with families, friends and other early childhood educators. Please don't use the photos or text of this blog without permission, but please do use any ideas you find useful. Thank you for stopping by!
Showing posts with label muffins. Show all posts

Sunday, January 3, 2021

8 Outstanding Options for Over-the-top O Activities

What's so outstanding about letter Oo?  The variety of options for learning activities!  From oceans to outside time, baking oatmeal muffins to sorting ovals to lovely hand print art, there's so much to do!

Let's start with oceans and octopi... octopuses...the octopus.  You probably have some favorite ocean themed books - and of course so do I!

If you're wanting to learn octopus facts, I love Gentle Giant Octopus by Karen Wallace, and so do my students.  Just for fun?  Octopus's Garden, by Ringo Starr.  Bonus points, it includes a sing-a-long CD, so you and your littles can learn (or relearn) the song.  While you're at it, check out the gorgeous illustrations in Inky's Amazing Escape by Sy Montgomery and Over in the Ocean by Mariann Berkes.  

I haven't get read Manfish A Story of Jacques Cousteau by Jennifer Berne, but a study of the ocean is incomplete without learning about him, and again, the illustrations look awesome!

Many years ago I made an ocean tent to go over a card table - super easy to do - and my students have had a lot of use out of it!  I found a couple of panels of ocean fabric that measured the same size as my card table, and added some plain blue fabric for the other 2 sides.  I put a cord through the top hem, and tied it onto the card table.  It takes about 2 minutes to put up or take down, and folds quite small for storage. (I was inspired by tents from https://www.etsy.com/shop/missprettypretty ).  Just add ocean stuffed animals or other toys for some fantastic pretend play!

 Your littles might also enjoy working on patterns with ocean animals - here's a fun way to do that:

and early readers will enjoy this FREE reading center - click here to download it!


If you're in the mood to do some cooking with your little ones, AND you want them to eat healthy foods, try the oatmeal muffin recipe I wrote about here. Look at all the delicious ingredients: 

Remember to let your little ones help you cook - they're spending quality time with you, learning life skills, and if they help you cook something, they're more likely to try eating it.  Want more?  They're also developing fine motor skills, counting scoops, measuring ingredients and learning vocabulary - they are learning.

If you've been reading my blog for long, you know I also love to do hand print art with my kiddos, and letter O is no exception!  Here are 3 fun ideas: otter, owl and ostrich!  


The ostrich came from CreativityTakesFlight.com, the otter was uploaded to Pinterst without credit, and I'm not sure about the owl either.  As always, you can find more hand print and foot print art ideas on this Pinterest board:

Don't forget to add outside time to your letter Oo activities!  This is so open ended, you're sure to have some favorite outdoor ideas - or brainstorm with your children and try something new!


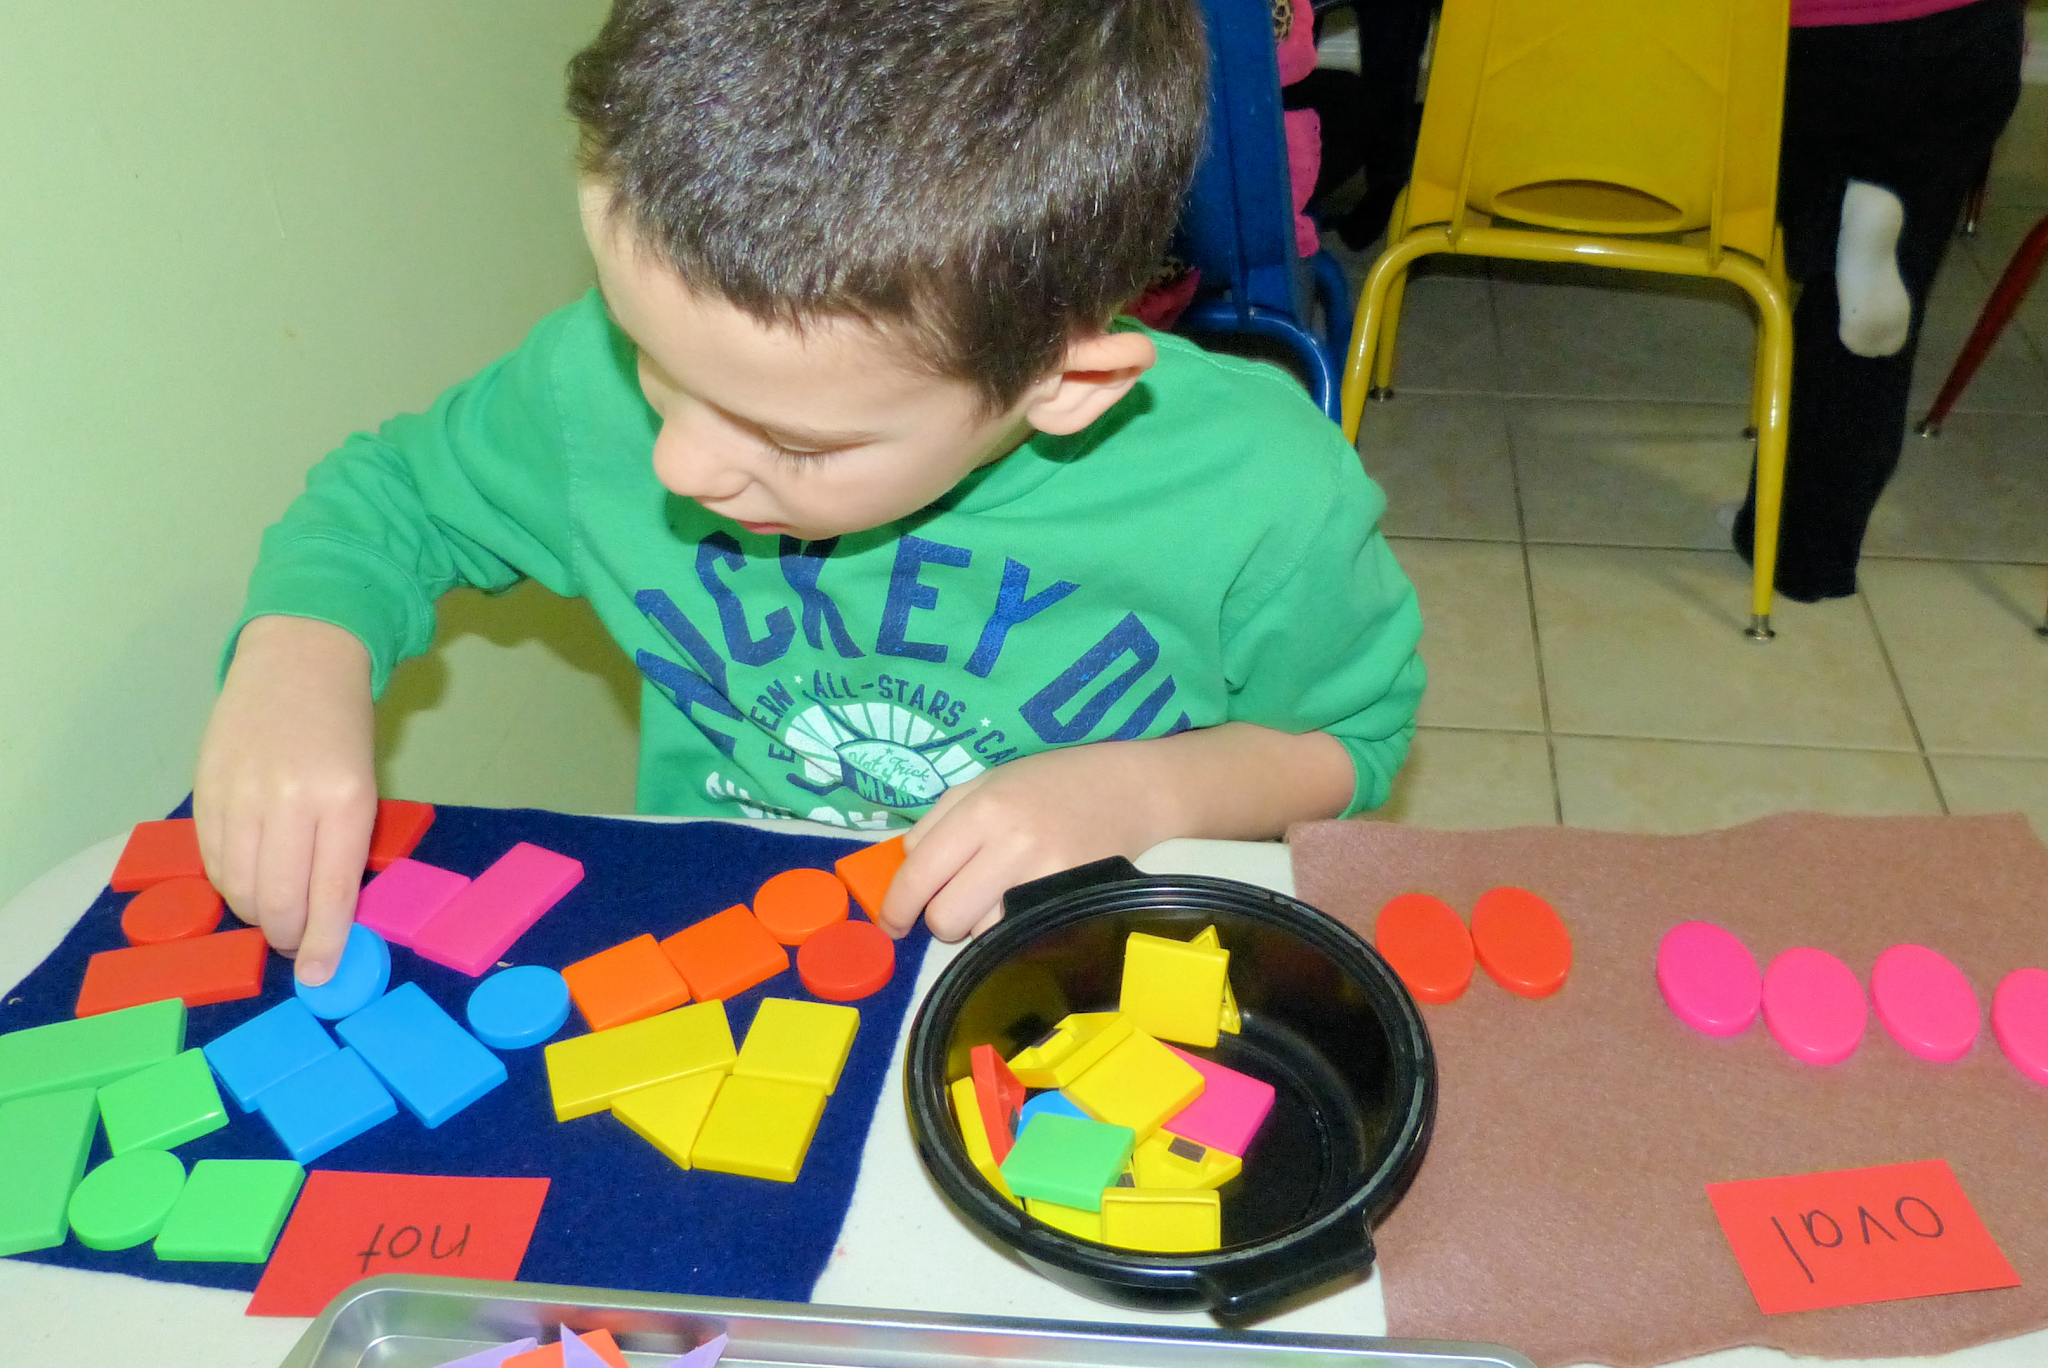
It's always a good time to revisit shapes and other math concepts; we broke out some magnetic shapes that include ovals.  As you can see they're fun for sorting, or making patterns, or simply look for ovals and other shapes in your environment. 

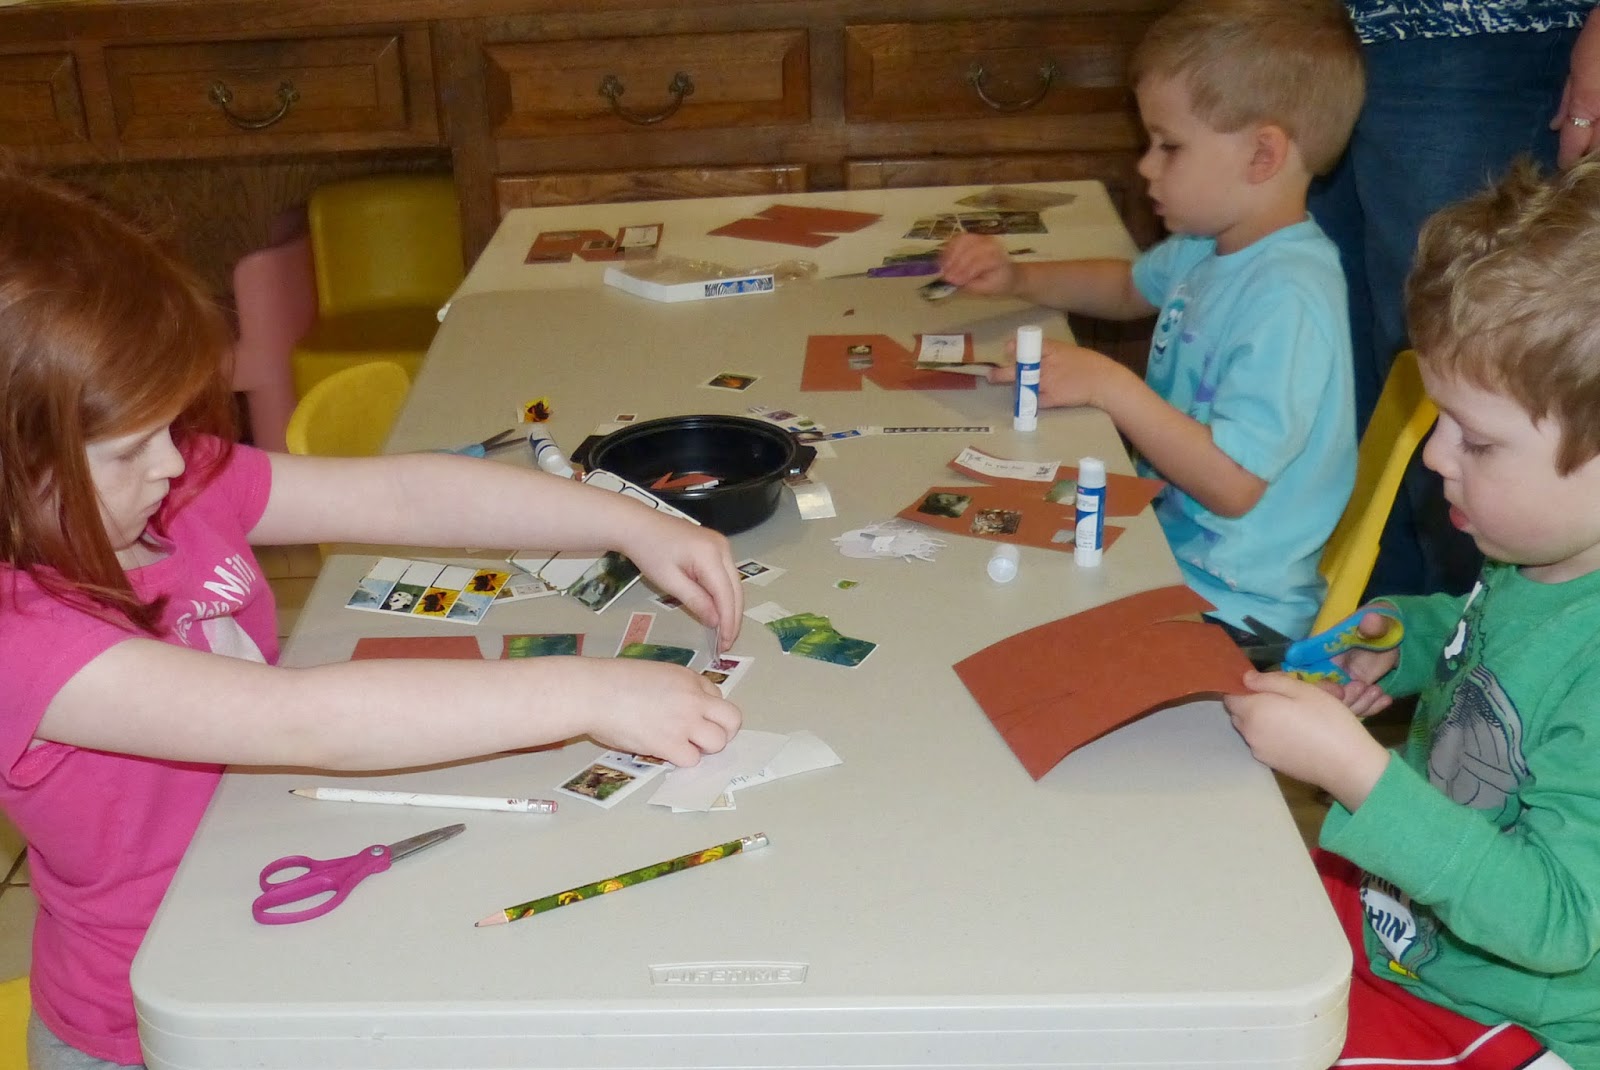
Finally, here are two great picture book characters for the letter O: the giant squid from I'm The Biggest Thing in the Ocean (by Kevin Sherry) and Olivia (from the series by Ian Falconer).  I came up with both of these crafts, which encourage lots of fine motor skills (cutting, gluing, even painting).  I hope you and your little ones enjoy them!
 

Click here for a quick tutorial on how to make the squid from  I'm the Biggest Thing in the Ocean, or get everything ready made for labeling, graphing, measurement AND this activity in my TeachersPayTeachers store.

Here are the shapes your child will need to cut out and assemble to create Olivia...

... we think she's pretty adorable!  

Have an over the top outstanding week of O activities, and come back next week for penguins, polar bears and positively perfect ideas for letter Pp!  See you then, Paula


Sunday, November 15, 2020

M might look like a mess


M might look like a mess... but then, we're talking about young children and learning, so there's a probably a lot of getting messy!  Not to worry, I have ideas for varying degrees of mess and mud, and you can always modify or skip things that don't appeal to you.

Let's start with mixing and measuring to make muffins - which combines math, life skills, motor skills and everyone's favorite - eating! My preschool kiddos and their parents love my pumpkin gingerbread muffins, and you'll love that they're moist, tasty and full to the brim with healthy pumpkin!  You can find the recipe here, along with a couple of other recipes that my students always asked for.

If your child wants to continue exploring the muffin theme, consider making a sensory bin.  For mine I put dried beans in a tub, added some empty spice and vanilla containers (they still smell marvellous!) and some plastic cookware and food, and the children had a fine old time!


Another fun cooking activity for letter M is to make "mud" for a treat.  Simply mix up chocolate pudding, crush chocolate cookies, then serve the pudding topped with the crushed cookies.  Mmmmm-mmmmm!
I like to have the children make this as a special treat on International Mud Day - yes, there really is such a thing - in June.  It's warm enough then (in the Northern Hemisphere anyway) to get in the mud and get thoroughly messy.  (We literally hose off outside afterwards.)
 
A much less messy way to enjoy Mm is with painted hand prints.  These are the ones we use, most of which I found via Pinterest, and have pinned to my Handprint and Footprint pinterest board.  The monkey was inspired by a post from Craftymorning.com, the mermaid from education.com, the mouse idea is from puttisworld.com and the mask from funhandprintart.blogspot.com .
 

If you haven't started talking to your children about money yet, this is a great time to introduce it!  (You know your child best, if they are likely to put coins in their mouth, don't offer them yet.)  I start by having children sort the coins - in the USA that means pennies, nickels, dimes and quarters.  This is a simple fine motor task that introduces children to the names of the coins and if you talk more about it, to their values. 


Here are a couple of other things you might want to add to your letter M studies:

- Take a trip to a museum (I've taken children as young as 3 to the science museum and as young as 4 to art museums.  Make sure you practice appropriate behavior ahead of time, and make your first visits short and sweet, build on them over time as your child develops the self control each situation requires.)

- Paint on mustaches.  We did this for pirate week, letter M, and circus themes, and these are some funny pictures you'll look back on years from now!

- Learn about mandalas, collect natural materials, and create symmetrical patterns - fun for math, exploring nature, and fine motor skills too.

What other activities for the letter M do you like to do?  Let me know in the comments! 

Until next week,

Paula


Wednesday, September 23, 2015

How to Roast a Pumpkin... and what to do with it

It is no secret that I LOVE pumpkins.  I've blogged about them many times, and cooked with them many more than that.  My students have helped me choose pumpkins at the market, taken photos with them, done art and sensory activities with them, cooked them, made muffins, pies, bread with them, grown them, roasted the seeds, learned about their life cycle, and over the last 10 years, eaten hundreds of pounds of pumpkin.  I REALLY like pumpkins!

What a surprise to realize that a lot of people don't know how easy it is to cook your own pumpkins, or how much sense it makes financially.  Today I want to show you!

Step 1: Procure pumpkin.  I got this beauty at my local Farmers' Market last Sunday.
Step 2: Cut it in half.  I learned the hard way that trying to peel a pumpkin is worse than herding cats.  Trust me, the flesh will come out much easier after it is baked!
Step 3: Remove the stringy bits and seeds.  I like to keep the seeds for roasting - they are delicious, and you are already going to have the oven going - you may as well have a yummy salty snack while you are waiting for the rest of the pumpkin to cook.  Which reminds me, turn on the oven to 350*.

Put the prepared pumpkin halves in an oven safe container that has sides - most pumpkins will release a fair amount of juice while cooking.  Here are my pumpkin seeds washed, and soaking in salted water.  You can leave them soaking for a few hours before cooking, or if you are impatient, skip the soaking.  Use spray oil on a cookie sheet so they don't stick, sprinkle them with salt, and put them in the oven.
I was really surprised that this particular batch took 30 minutes to cook through - thinner seeds may take as little as 10 minutes.  The seeds of every pumpkin are different, so you need to check on your roasting seeds every 10 minutes or so, and pull them out when you are satisfied with them.  This is the darkest I've ever roasted them (on purpose) and they were really good!
Let these cool a little, and then pop some in your mouth - you can eat them whole, even the seed coat.  If you have some left, let them cool completely and then store in a sealed container.  We didn't have any left. 

Here's the cooked pumpkin - this particular one was very dense, and cooked for 100 minutes.  I tested with a fork every 15 minutes after the first hour.  The pumpkin is done when the fork goes in easily - you want the flesh to be nice and soft.
Scrape the soft flesh right out of the skin with a spoon, and put it in a blender or food processor.  You may need to add a little of the juice that has separated from the pumpkin, depending on your processor.  If it is still hot when you do it, please be extra careful, only fill the blender/processor half way, leave a small opening for steam to escape, and lay a towel over the top of it before you blend.  You do not want to be splashed by hot pumpkin!  Pour the pureed flesh into storage containers.
I used plastic containers that lunch meat was packaged in, they're a handy dandy 2 cups size, and stack nicely to refrigerate or freeze.  I let them cool on top of ice packs on my counter until they are cool enough to go in the refrigerator.   That's all there is to it!

Your pumpkin puree will be a thinner consistency than what you get from a can of pumpkin, because you've retained all the juices.  You may need to adjust your recipes accordingly. 

This particular pumpkin cooked up to a lovely golden yellow - again, each type of pumpkin is different.  Experiment to find which variety you like best, and which ones have the nicest seeds.  I ended up with 8 cups of cooked pumpkin, as this was a medium sized pumpkin.  I've had large pumpkins yield over 25 cups before - so I freeze what I don't need immediately.  Use it within 6 months.

So why bother eating pumpkin anyway?  It seems like a lot of work, spending 2 hours in the kitchen to roast and process it, is it worth it?  I think so!  The cost per cup is much less than if you bought a can at the grocery store, and it is fresher.  You may even know the farmer that grew your pumpkin.  (I'm taking the grower some of the muffins on Sunday, and maybe getting another pumpkin.) 

Nutritionally, pumpkin is phenomenal!  According to SELFNutritionData, each cup of pumpkin has 3 grams of fiber, 2 grams of protein, 19% of your daily vitamin C needs, and 245% of your daily vitamin A!

My favorite way to eat pumpkin is in my pumpkin gingerbread muffins.  I started, long ago, with a recipe I found on-line, and have tweaked and changed it until it's truly my own recipe.  I have people beg me for these.  Warning - they are hard to resist!

Pumpkin gingerbread muffins
ingredients:
2  cups sugar                    1/4 cup vegetable oil
1/2 cup applesauce           4 eggs         
***3 cups pumpkin puree (homemade)
2 tsp ground ginger           1 tsp nutmeg
1 tsp cinnamon                  1 tsp cloves
2 cups white flour              1 1/2 cups whole wheat flour
2 tsp baking soda              1 1/2 tsp salt
1/2 tsp baking powder

***If using canned pumpkin, add 2/3 cup of water.

directions:
Preheat oven to 350 degrees  F.  Grease 2 muffin pans (recipe makes 60 mini muffin, or 30 regular).
In a large mixing bowl combine sugar, oil and eggs, beat until smooth.  Add water, pumpkin, and spices, stir.
In another bowl combine flour, baking soda, baking powder and salt.  Add dry ingredients to the pumpkin mix and combine.  Pour into muffin tins and bake until a toothpick comes out clean, about 20 minutes (12 minutes for mini muffins).
Even although this makes a huge batch, they remain incredibly moist and fresh for about 4 days - if you can resist that long.  They also freeze well. 

Happy fall everyone!


Friday, March 21, 2014

Z is for Zebras and Zoo

 We're at the end of the alphabet, and like the other last few letters, there's not a lot that starts with Z.  Fortunately, zoo and zebra do, and we live near a great zoo, so we can include a zoo visit in our learning activities this week.

We started the week with Animal ABC's, and a sensory box full of plastic zoo animals.  After we read the book, the children dug in the sensory box for the animals, and then sorted them by initial letter.  This was a fun, sensory activity that engaged the children, and let us review our letters all at once.  After we completed this activity as a class, I made it available for free play too, and the children used it all week.


To follow up the whole class sorting lesson, the children made their zebra striped uppercase Z craft.  Teachers prepared plain white paper with lines to show where the children would need to cut, and the kiddos glued torn black paper stripes onto the other side.
 Later in the day, once the glue was dry, they cut out their letters.  Our Z's stripes were all unique, just like zebras'.
On Tuesday, we read two class-made books.  One was an alphabet book illustrated with photos of a previous class at the zoo.  (A is for aviary, B is for birds, etc.)  The children helped me brainstorm lots of zoo animals, and what letters they start with.  I wrote them all down, to prep for our field trips to the zoo, and for making a new photo alphabet book about the zoo with this year's kiddos.

We also read a copy of The Zoo Book by Heidi Butkus which we've been singing along with all week on YouTube.com.  After we read the one made by last year's class, we illustrated a new one - OUR copy.  The children love reading books that they helped to make!  

We also made our lower case z craft, once again cutting out the letter z, and adding stickers and cut paper zoo animals.
 Here are some of our completed letter crafts.

On Wednesday, I took 2 trips to the zoo.  Boy, was I tired that afternoon!  It's nicest all around to take a small group of kiddos, so I divide the kiddos into three groups of 4, take one group at a time, and leave the others at school with Ms. Julie.  Next week, I'll take the final group!  

The kiddos back at school made their z page for their individual alphabet photo albums.  This page is a bit sparse looking, as I couldn't find clip art, stamps or stickers for zucchini, zither or zig-zag, and the zero looked like a letter o, so I didn't want to use it.

To prepare for the zoo field trips, and to make sure we get a picture for each letter of the alphabet, I made a list of animals for each group to look for.  The first group went to the Museum of Living Art, and the birds, penguins and kangaroos, all located towards the middle of the zoo.  The second group went to the far end of the zoo, to Texas Wild, and the last group will go to the African Savannah and Asian Falls areas.  There isn't time to see the whole 64 acres of zoo in one trip, not with little legs that get worn out easily, so we try to see different areas on each trip.


 In case you would like to make a similar alphabet book on your trip to the zoo, here's how I divided our search.  I've included some letters in more than one area, and of course, there are many other possible choices!
MOLA and central areas of the zoo: C (cobra or crane), D (diamond back rattlesnake or ducks), F (flamingo, fish), I (iguana, insects), K (kangaroo, komodo dragon), N (newts), P (penguins, python), S (snake, scorpion), U (underground snake - the Louisianna Pine Snake), V (vulture, venemous vipers)
Texas Wild: A (alligator, ammonites-fossils in the Texas map near the entrance to Texas Wild), B (bald eagle, bobcat), J (jaguar), L (longhorn cow), M (mountain lion), O (otters), Q (quail), U (sea Urchins - touch tank in the Gulf Coast display), W (white tailed deer, wagon, wolf), X (in Texas, or in exit), Y (Yellow Rose Express train).
African and Asian animals: B (sun bears), E (elephant), G (gorilla), H (hippo), I (ibex), L (lion), M (monkeys, meerkats), O (ostrich, orangutan), R (rhino), T (tiger), W (warthog), Z (zebra).

On Thursday we read More Life Size Zoo by Teruyuki Komiva, but again, there are many choices of zoo themed books to choose from.  Here are some others I have available for the children:

We followed up with a cute craft, creating our own zoo pictures with foam stickers.  Simple, easy enough for the smallest kiddos, but still working fine-motor muscles for the preschoolers, and of course, the children had to write their name.  It's hard to see from these photos, but they wrote "My name's Zoo" in the center of their picture.

On Friday, we made our zebra hand print crafts based on this one, and zucchini muffins. We used this recipe, because I was fairly sure that having chocolate chips in the muffins would convince everyone to at least try them.  The ingredients looked yummy!
 I had 3 small zucchinis to grate, and 12 kiddos to help, so I cut each zucchini into 4 pieces.  One of the kiddos exclaimed, "Hey, that's in quarters, just like when we cut up bananas!"  I love when they remember concepts weeks after I introduce them - it means they are really learning.
 Each child got to put a piece of zucchini in the food processor to grate it.  This was their first time to use the food processor, so they were very excited!
 We all took turns adding another ingredient, and of course smelling the spices and chocolate chips.


 At snack time we got to try them!  They looked so good!

I had the children predict whether they thought they would like the zucchini muffins, and to graph our predictions.  After tasting we checked to see what the actual results were - we are scientists, after all!  The final veridct?  Well, there were 48 mini muffins to start with, and here's what was left:
Only one child didn't like them, everyone else ate 2 - 5 muffins each!  We will definitely make this recipe again, and next time, I'm going to add a cup of applesauce to the mix, to moisten it a little more.  Yum!